
Photographs of Cable Response to Live Fire (CAROLFIRE) Tests: Intermediate-Scale Bunker and Test Cell (NUREG/CR-6931, Volume 1)
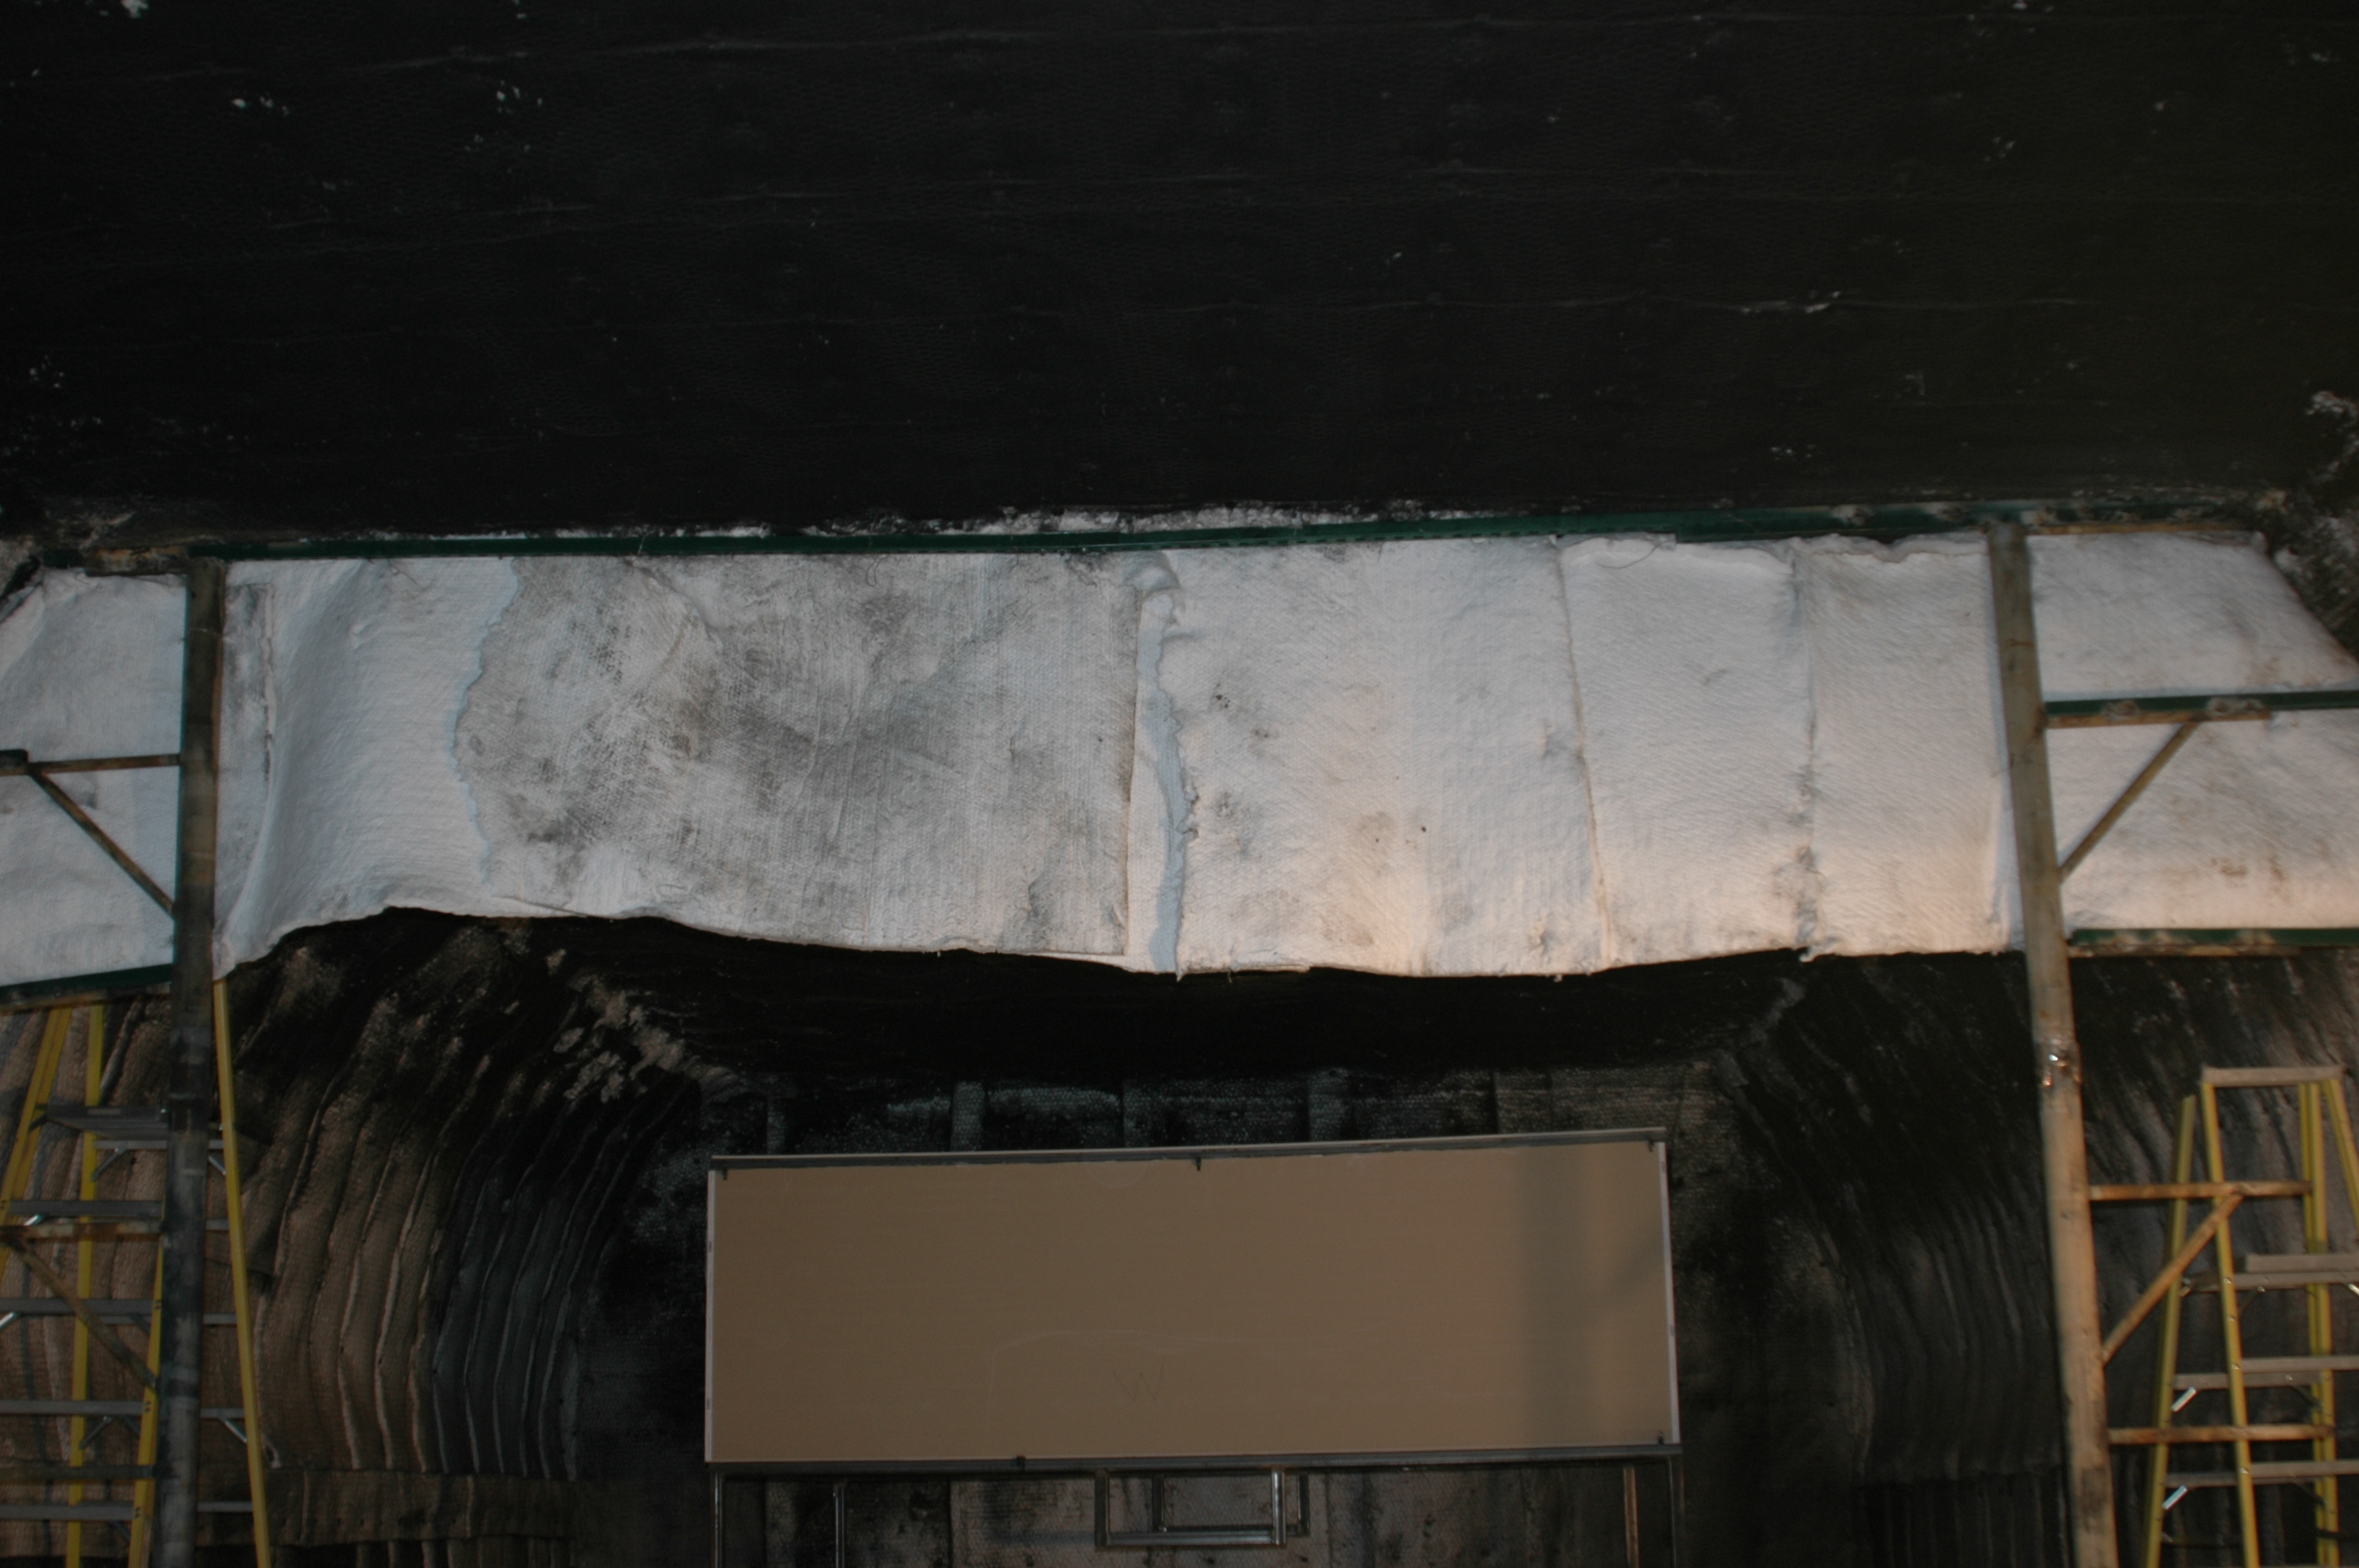
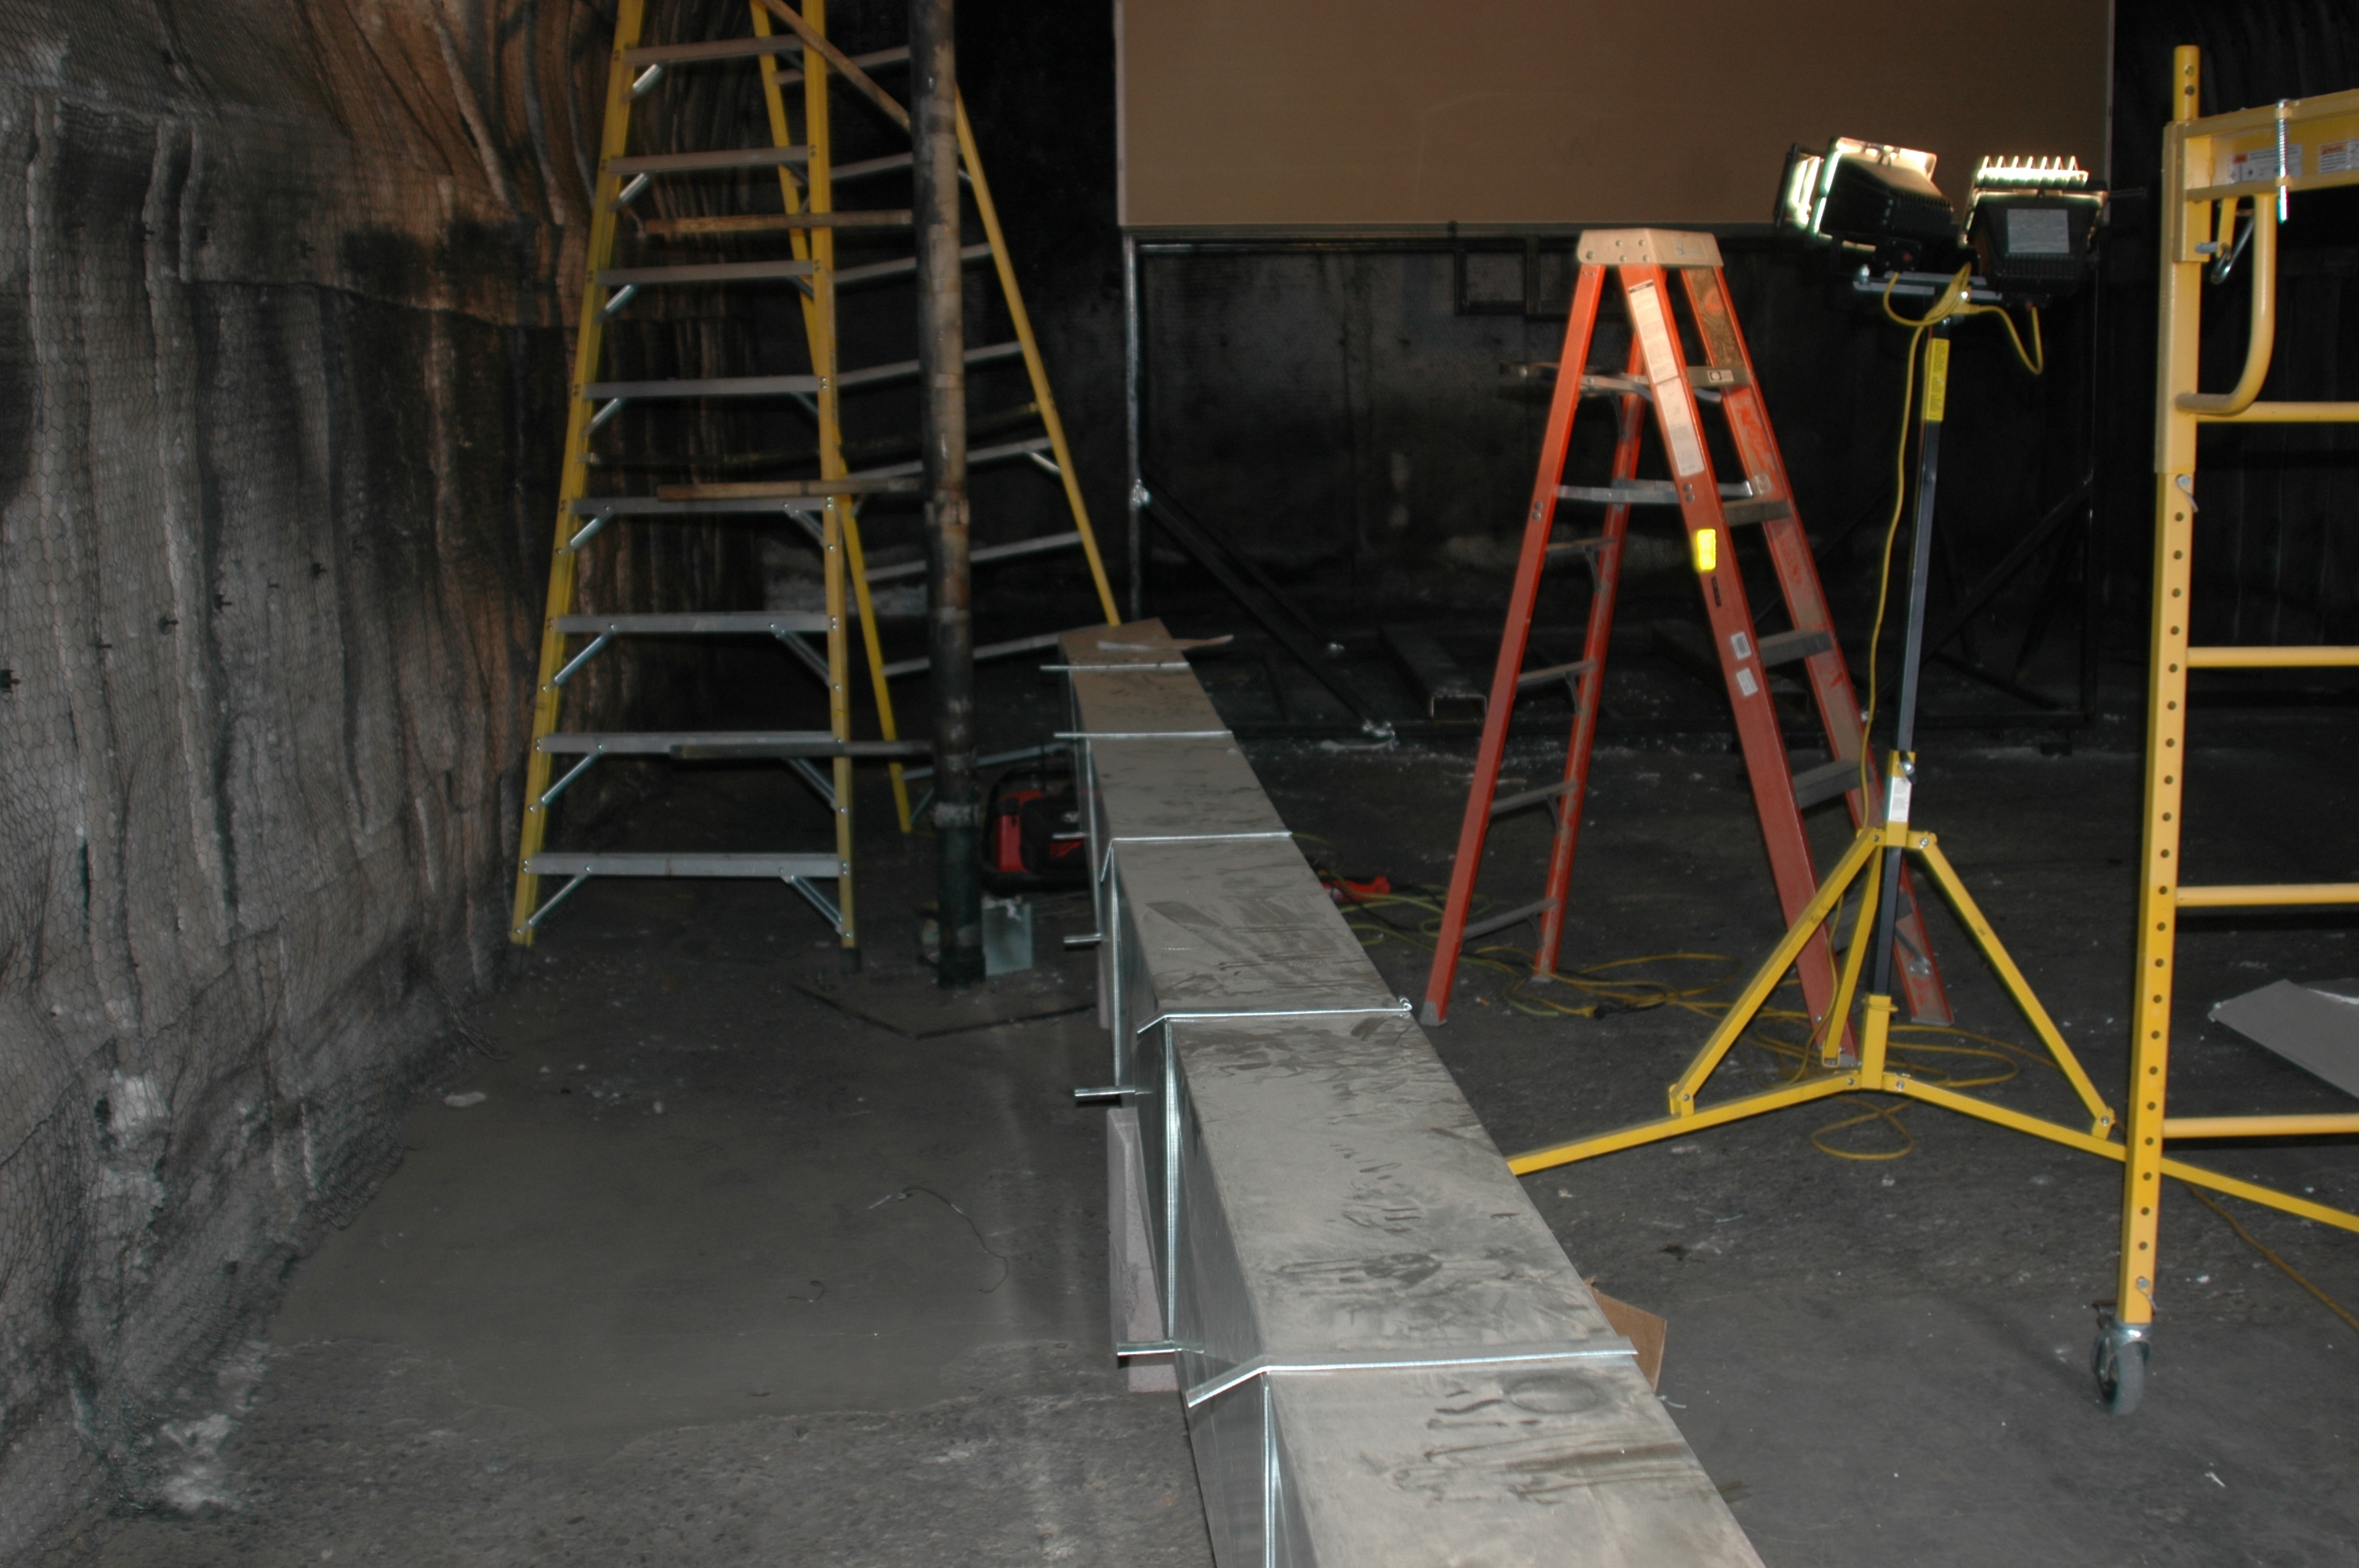
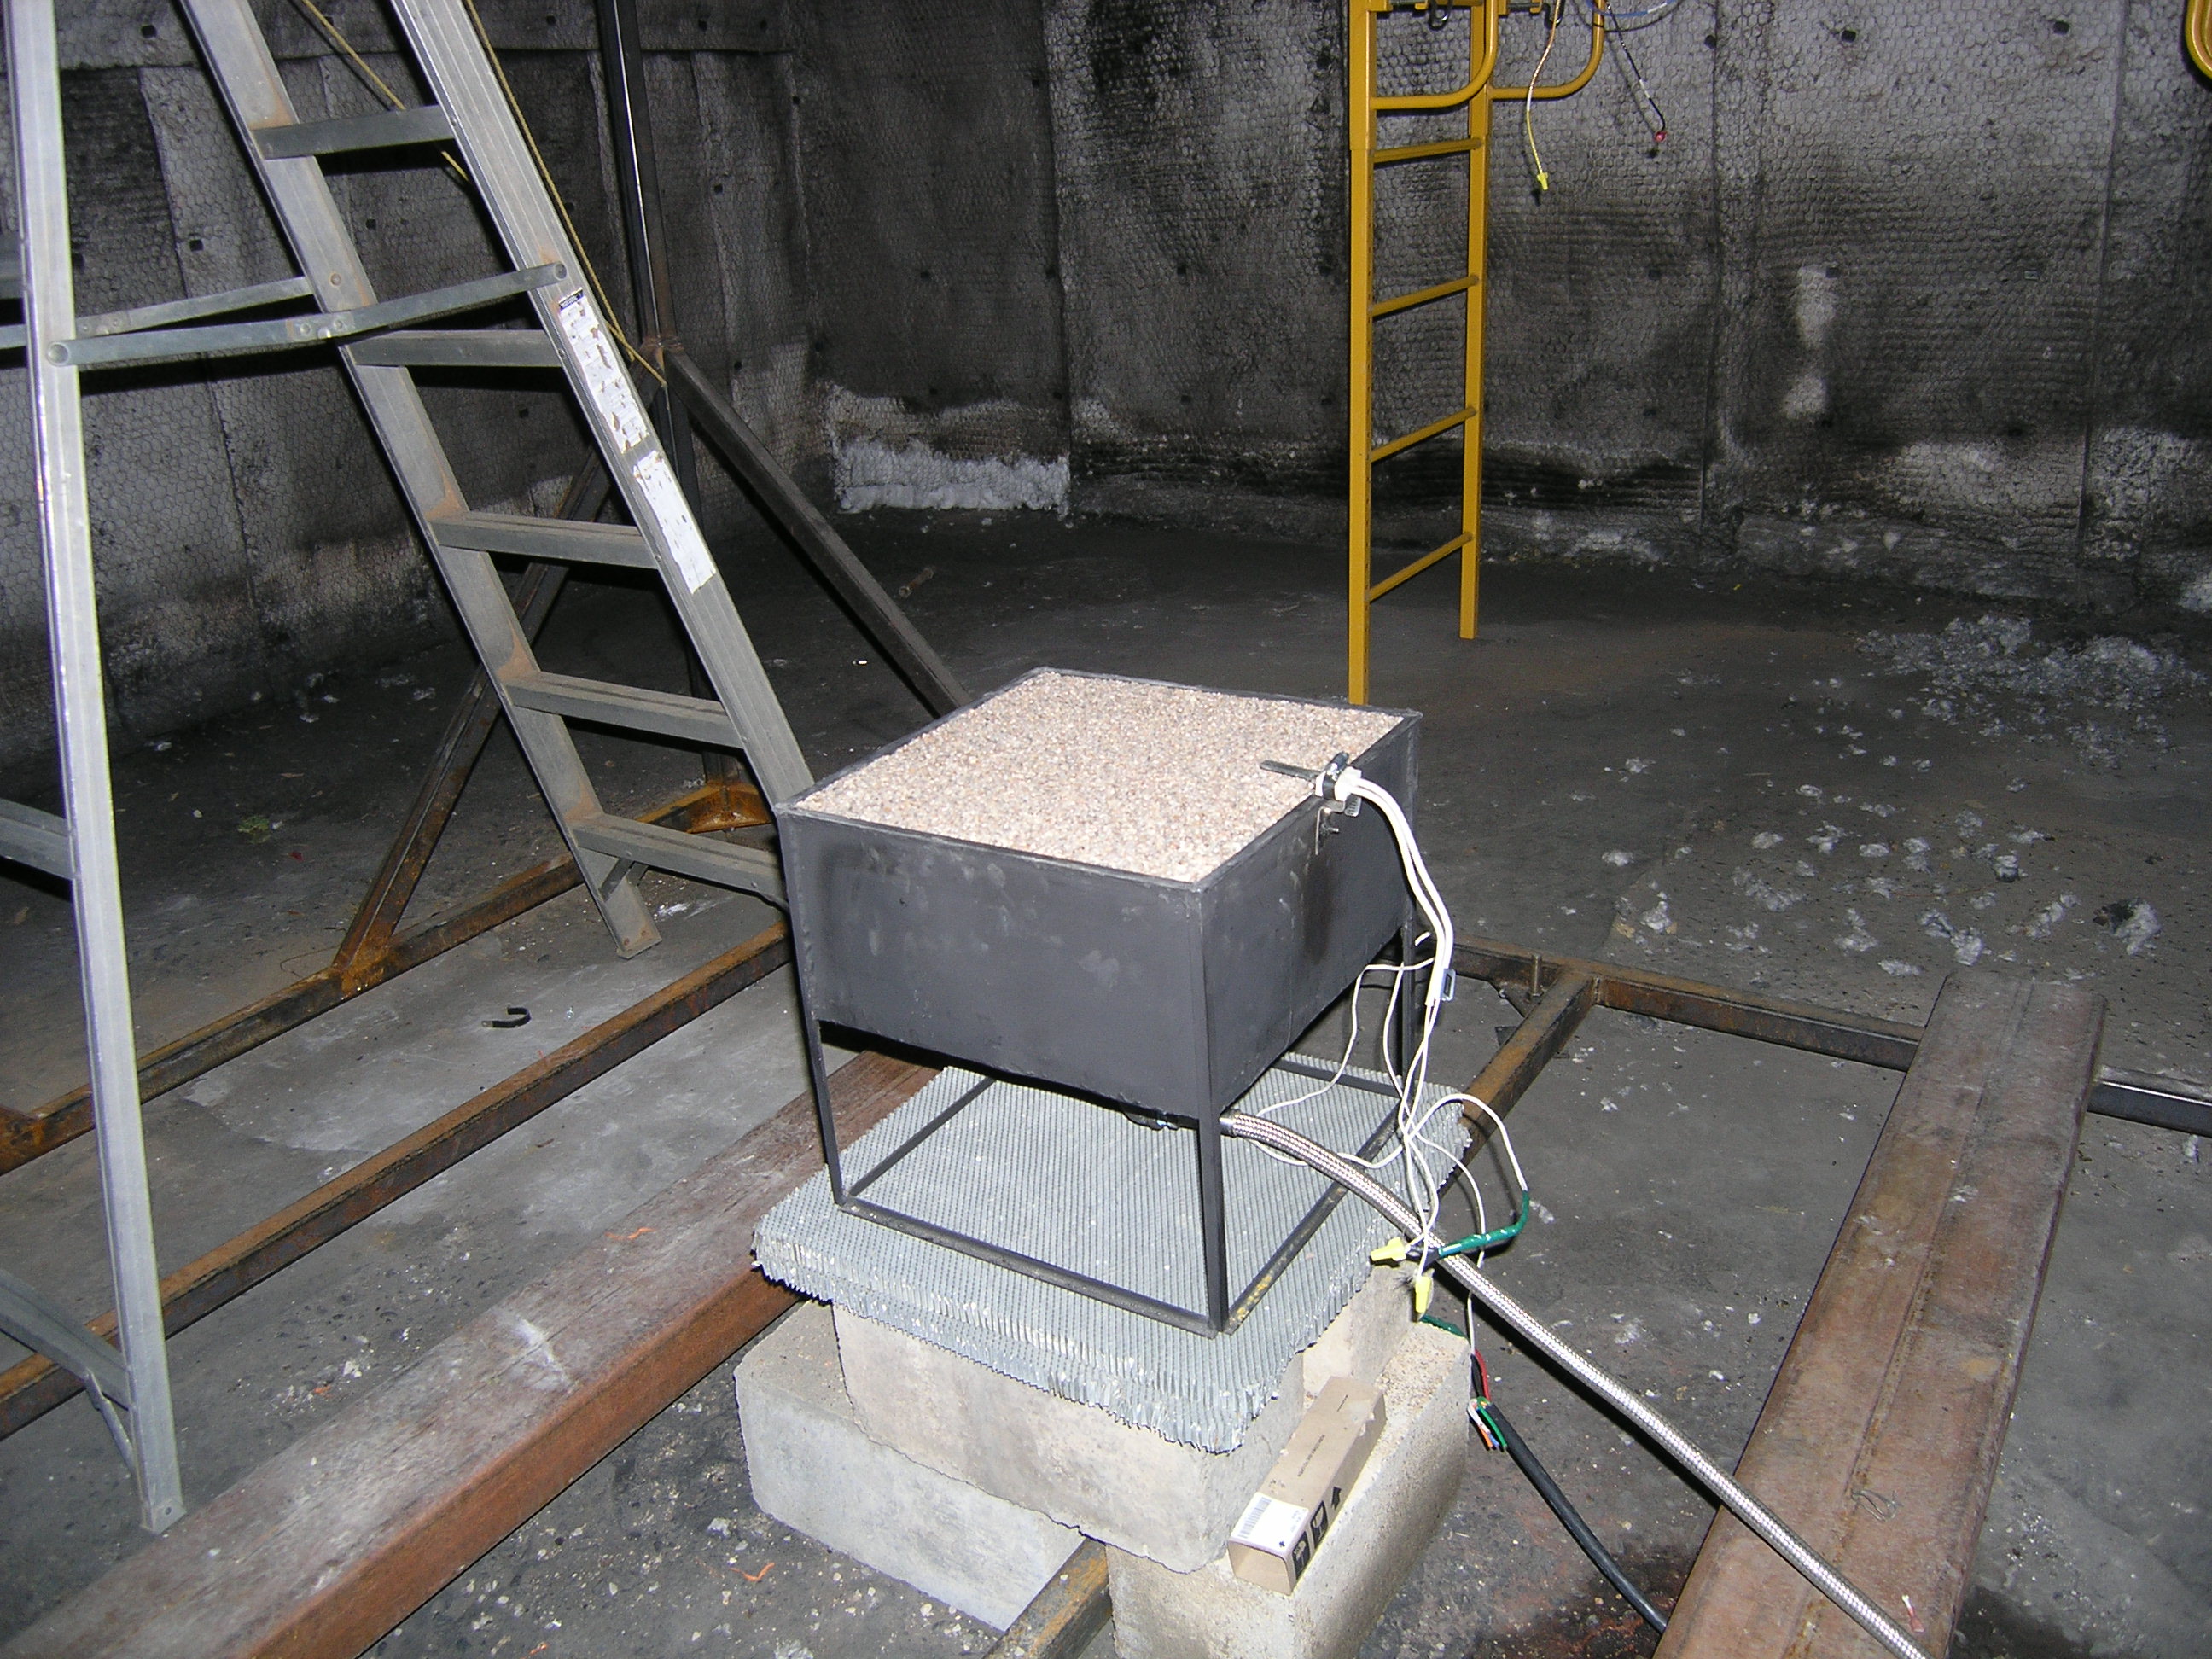
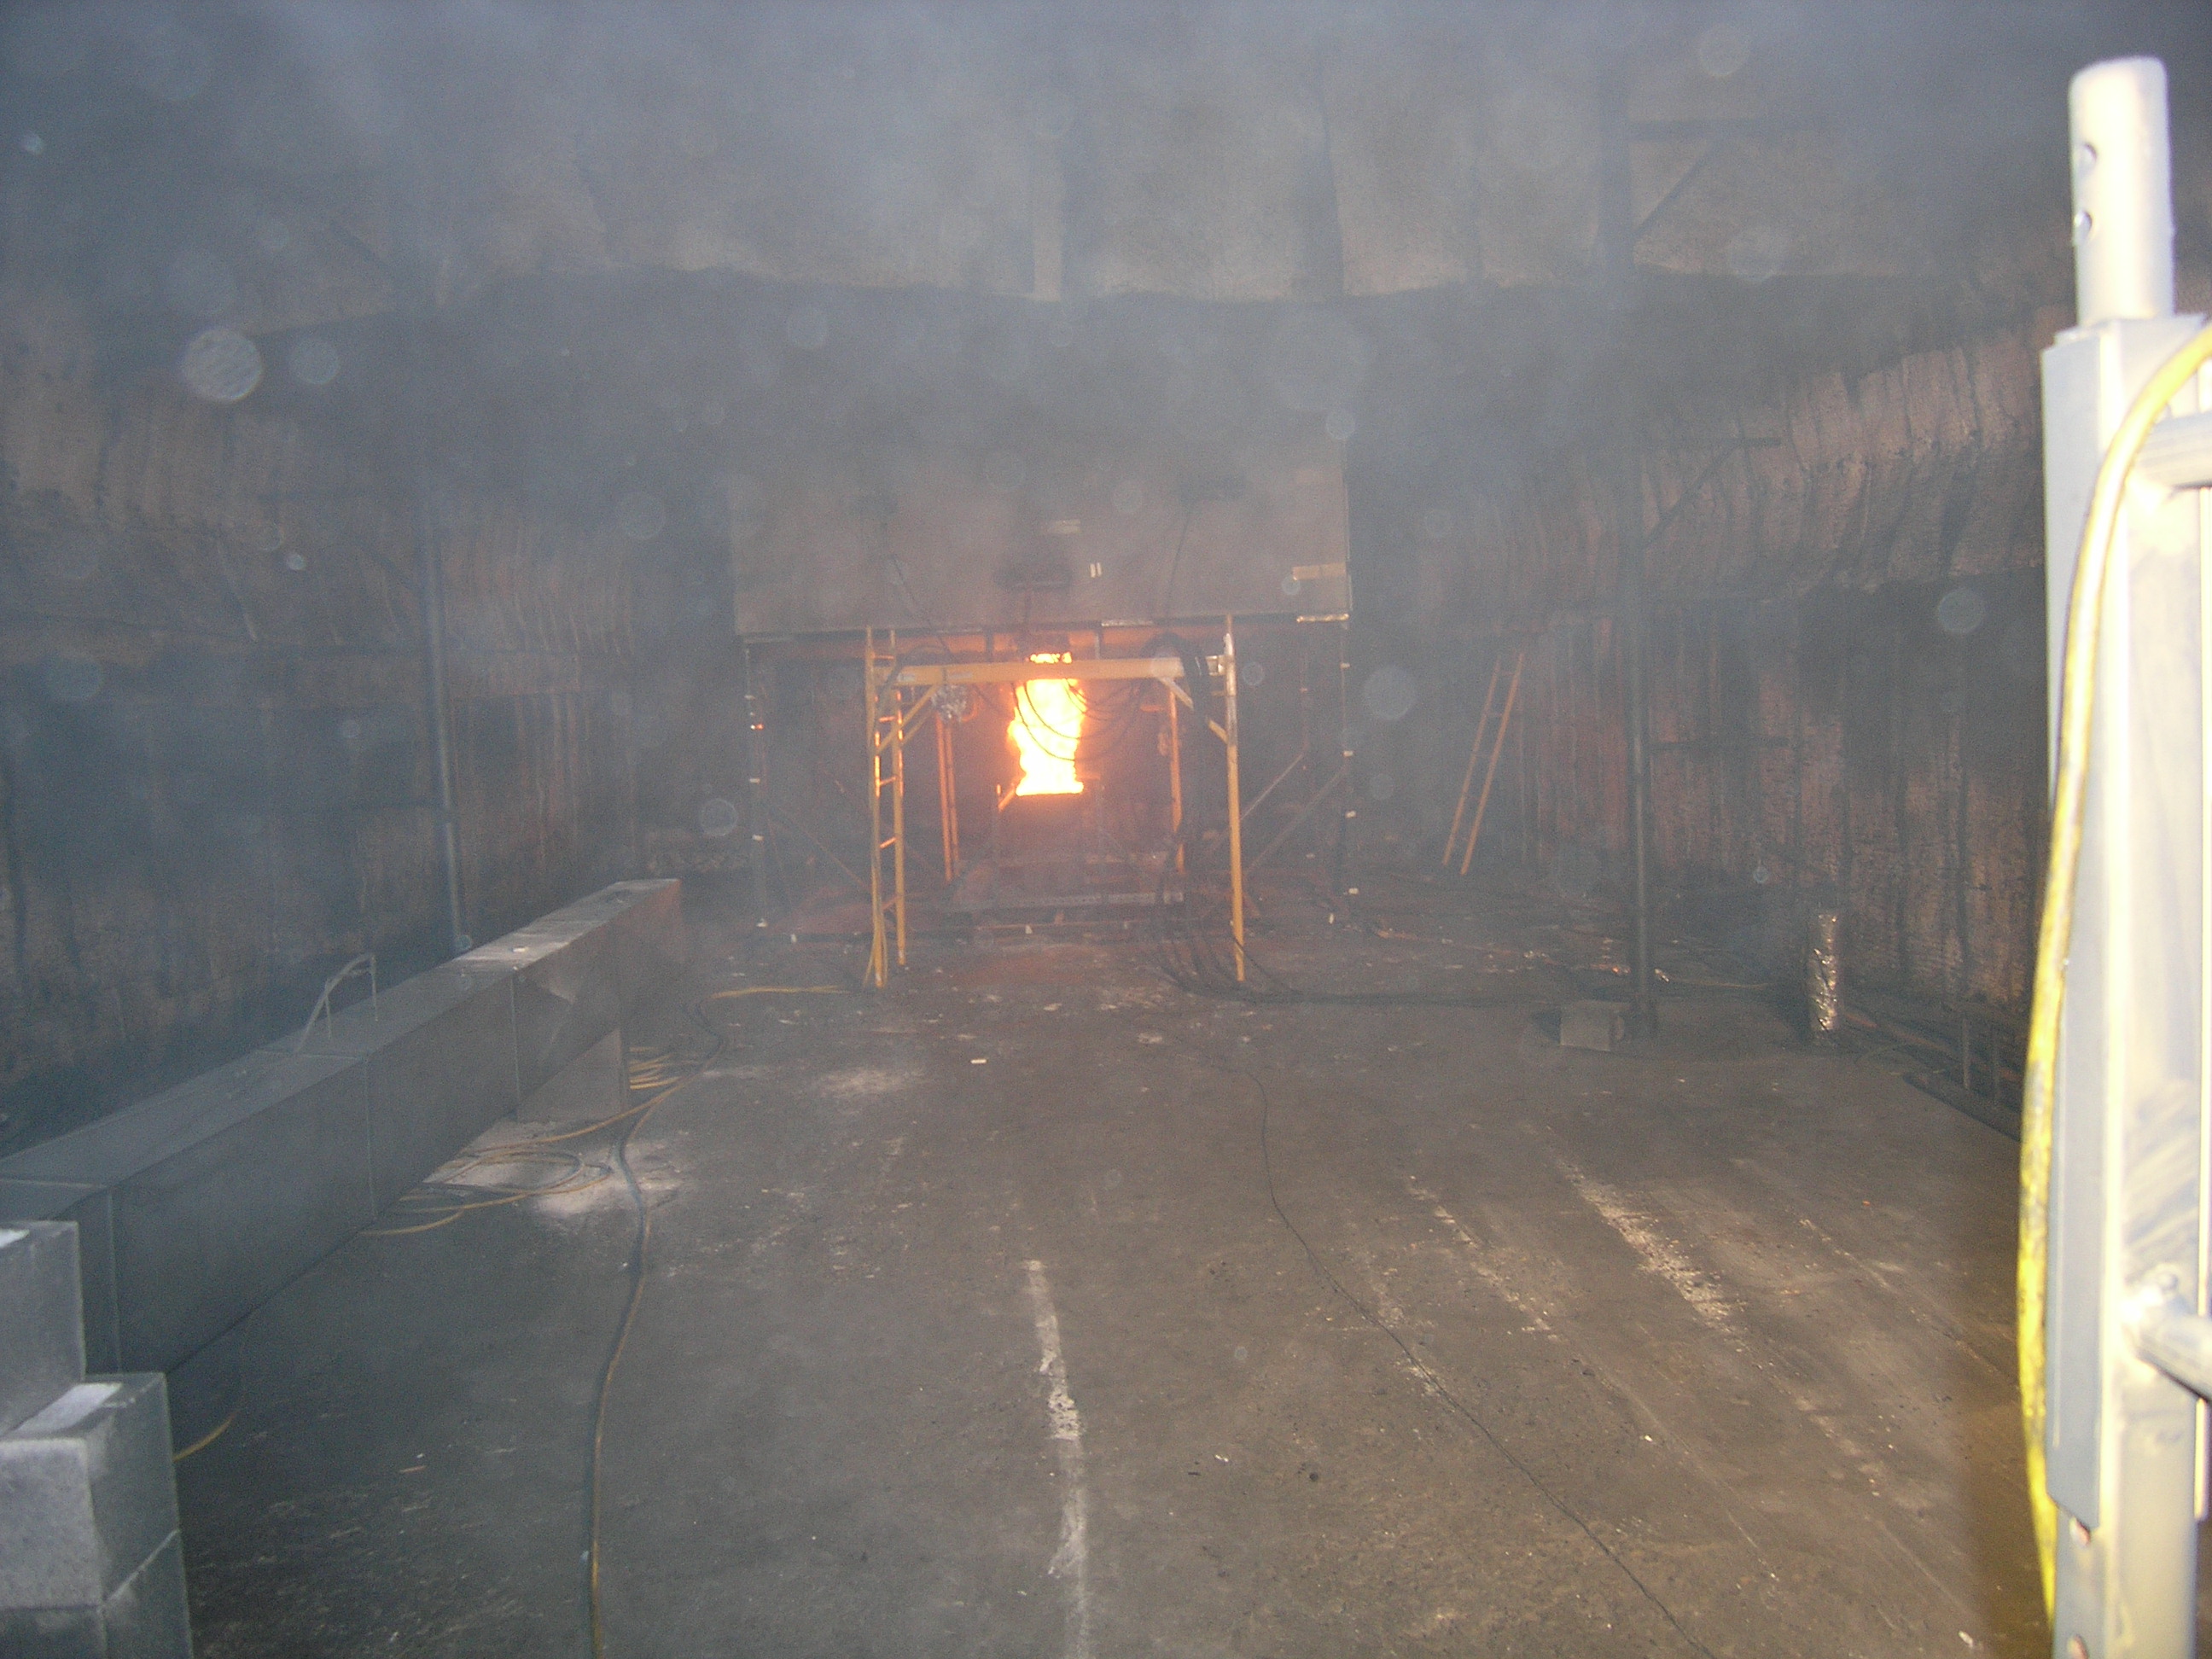
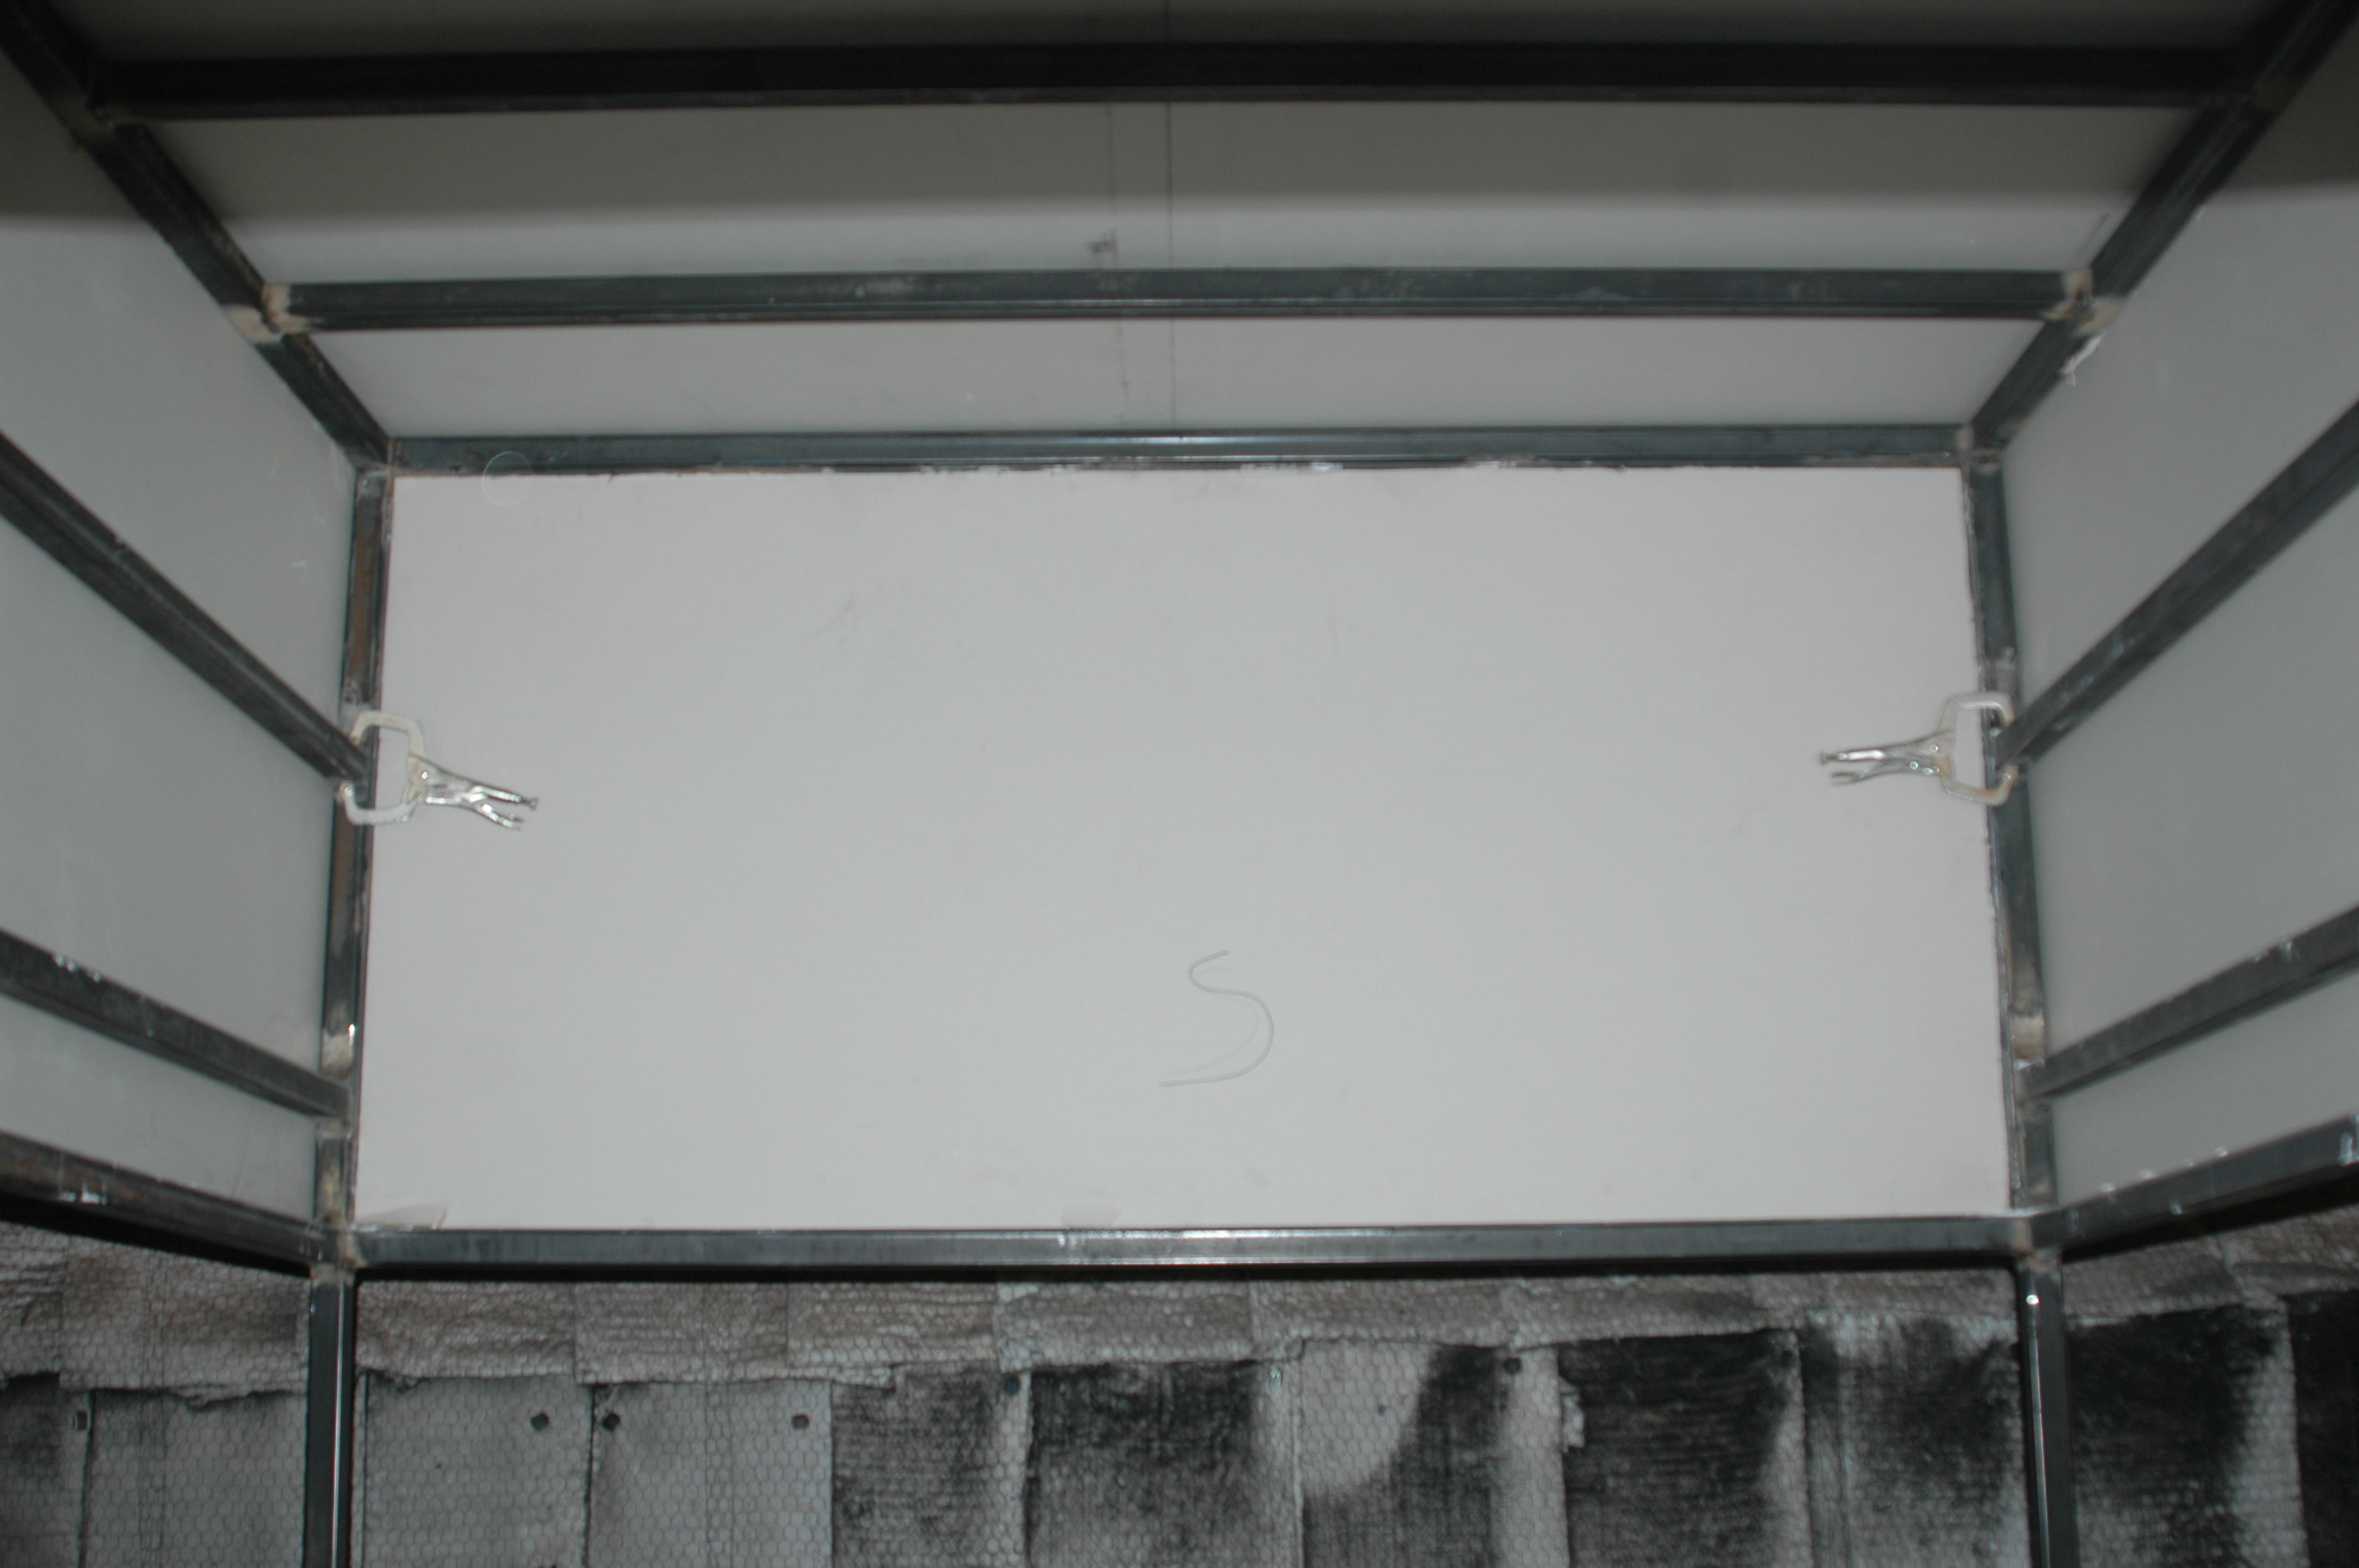
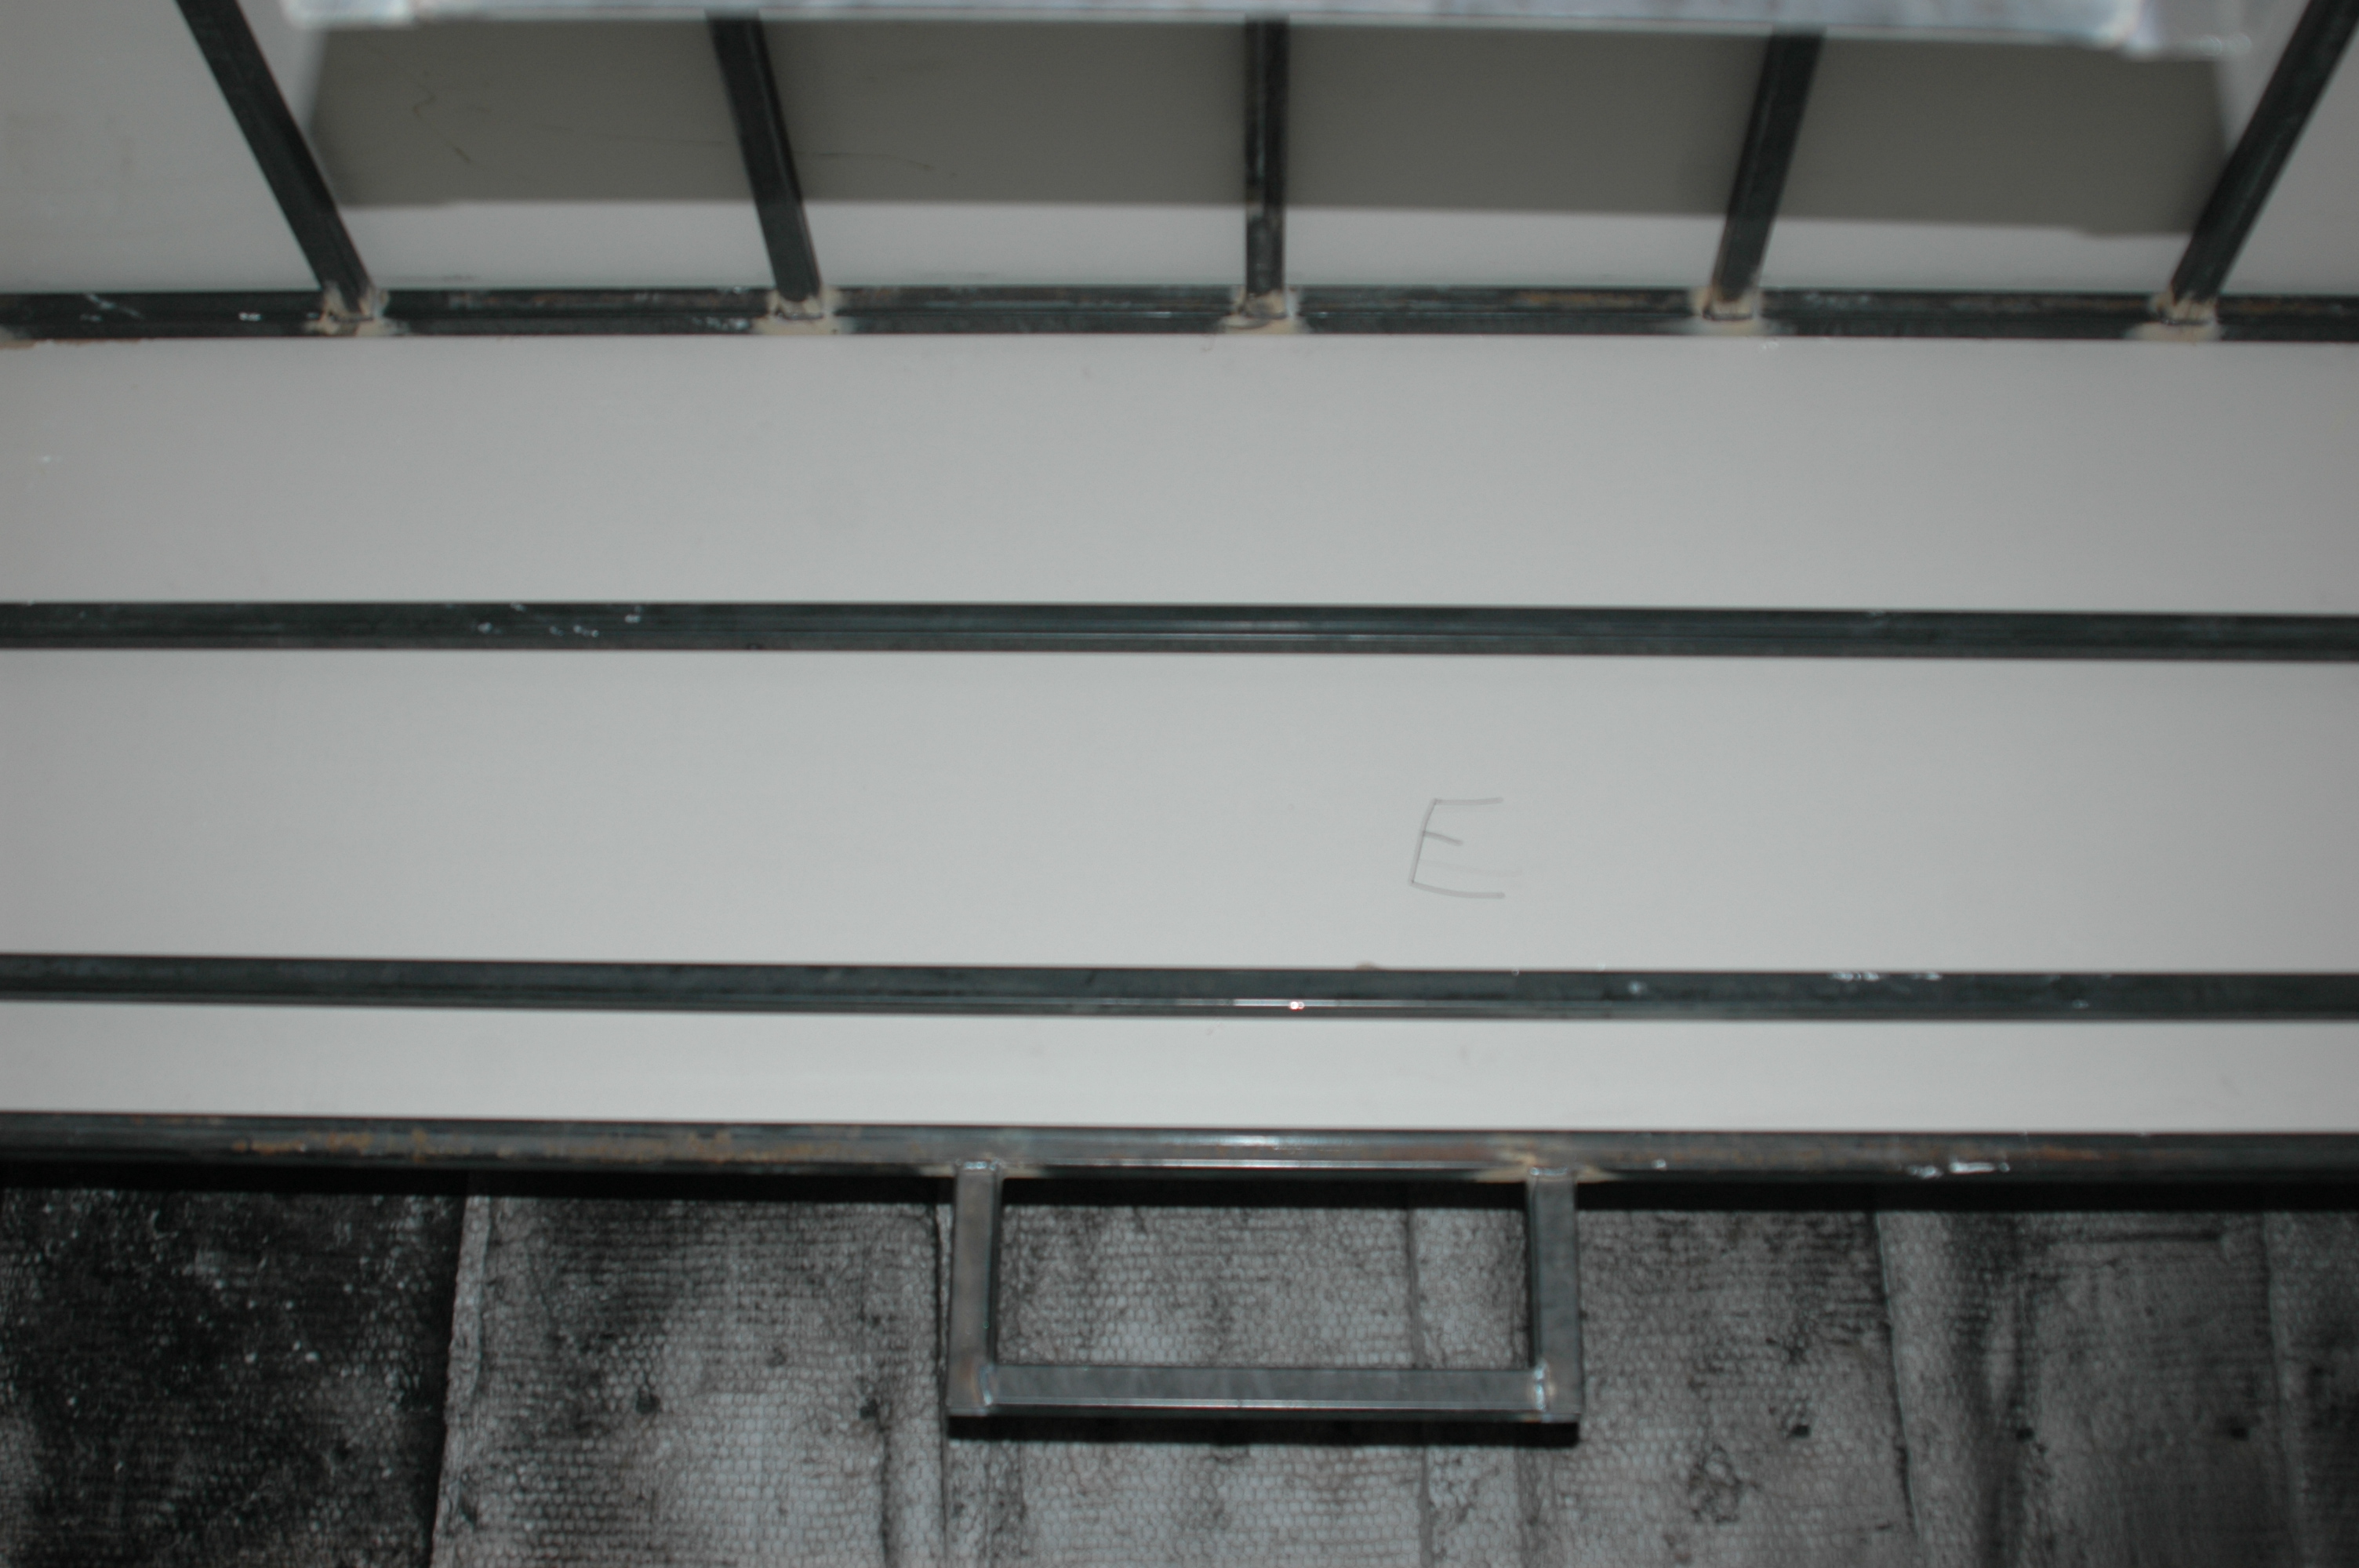
The photographs on this page depict the bunker and test cell used in the CAROLFIRE intermediate-scale tests discussed in NUREG/CR-6931. Although they were taken during the tests, these photogaphs are not intended to provide detailed test documentation. Rather, they provide a generic representation of the facilities used, as they were installed for the intermediate-scale tests.
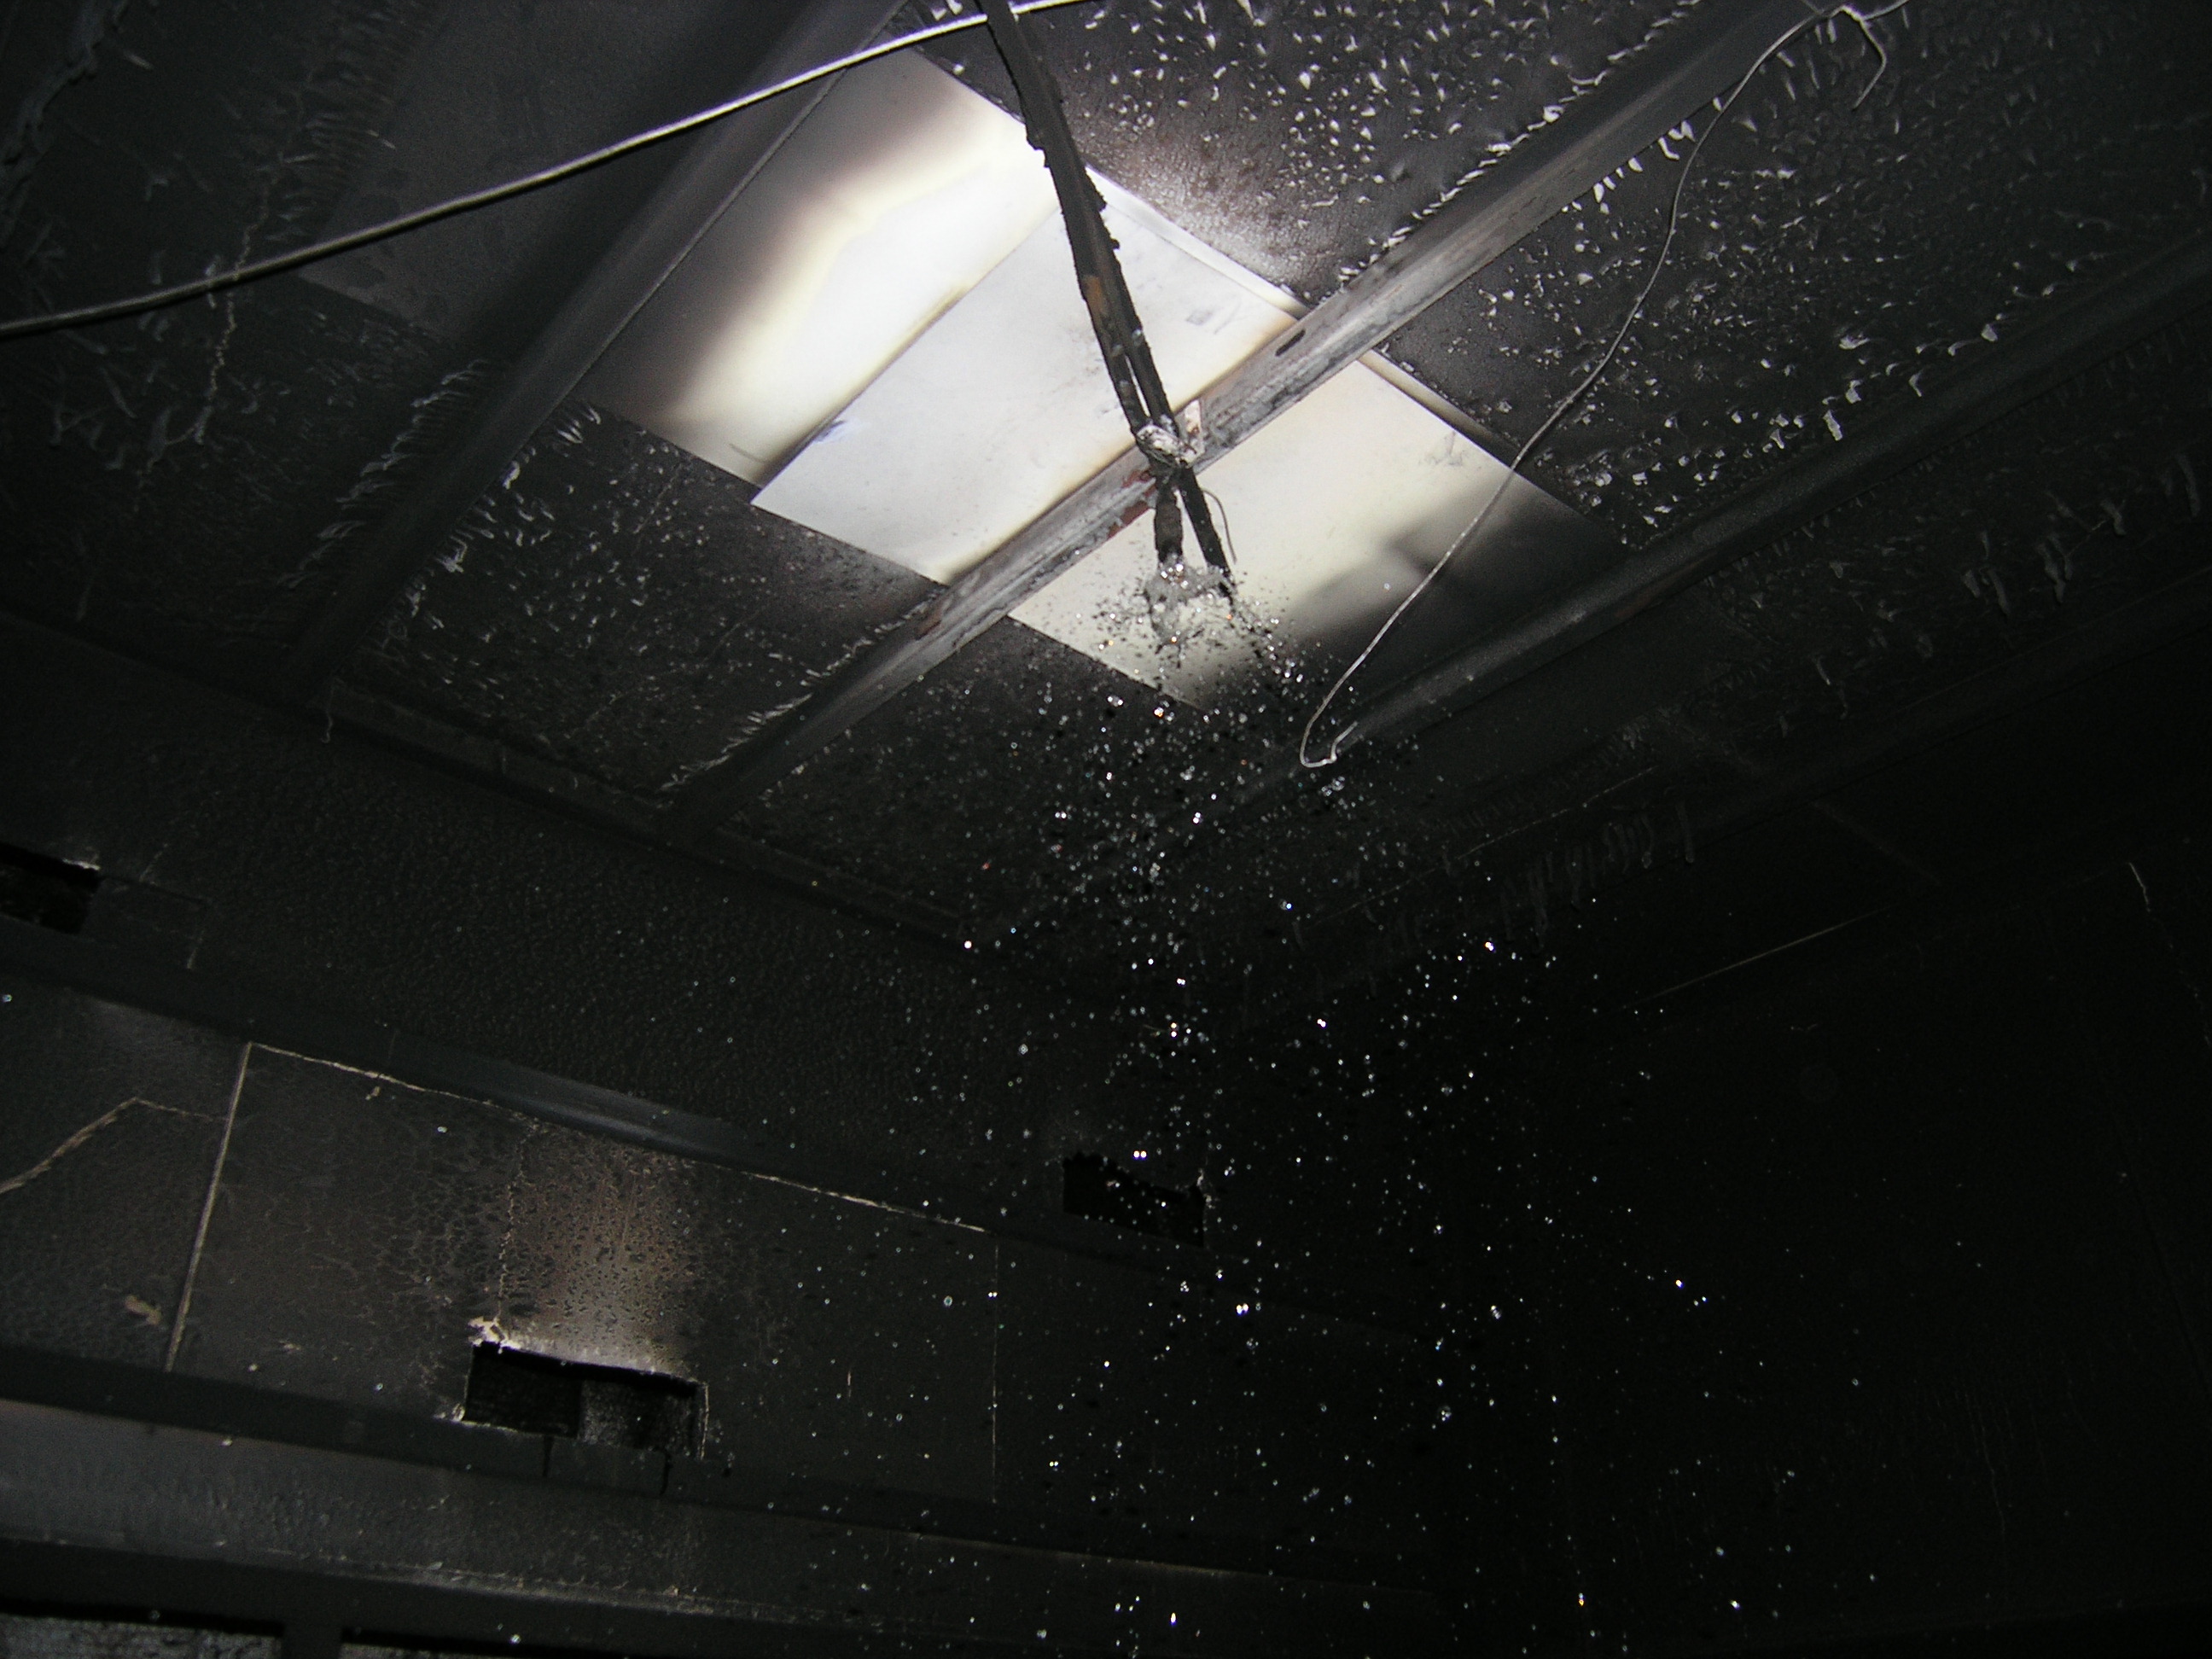 View Larger Image Inside Test Cell, Showing Water Sprayer | 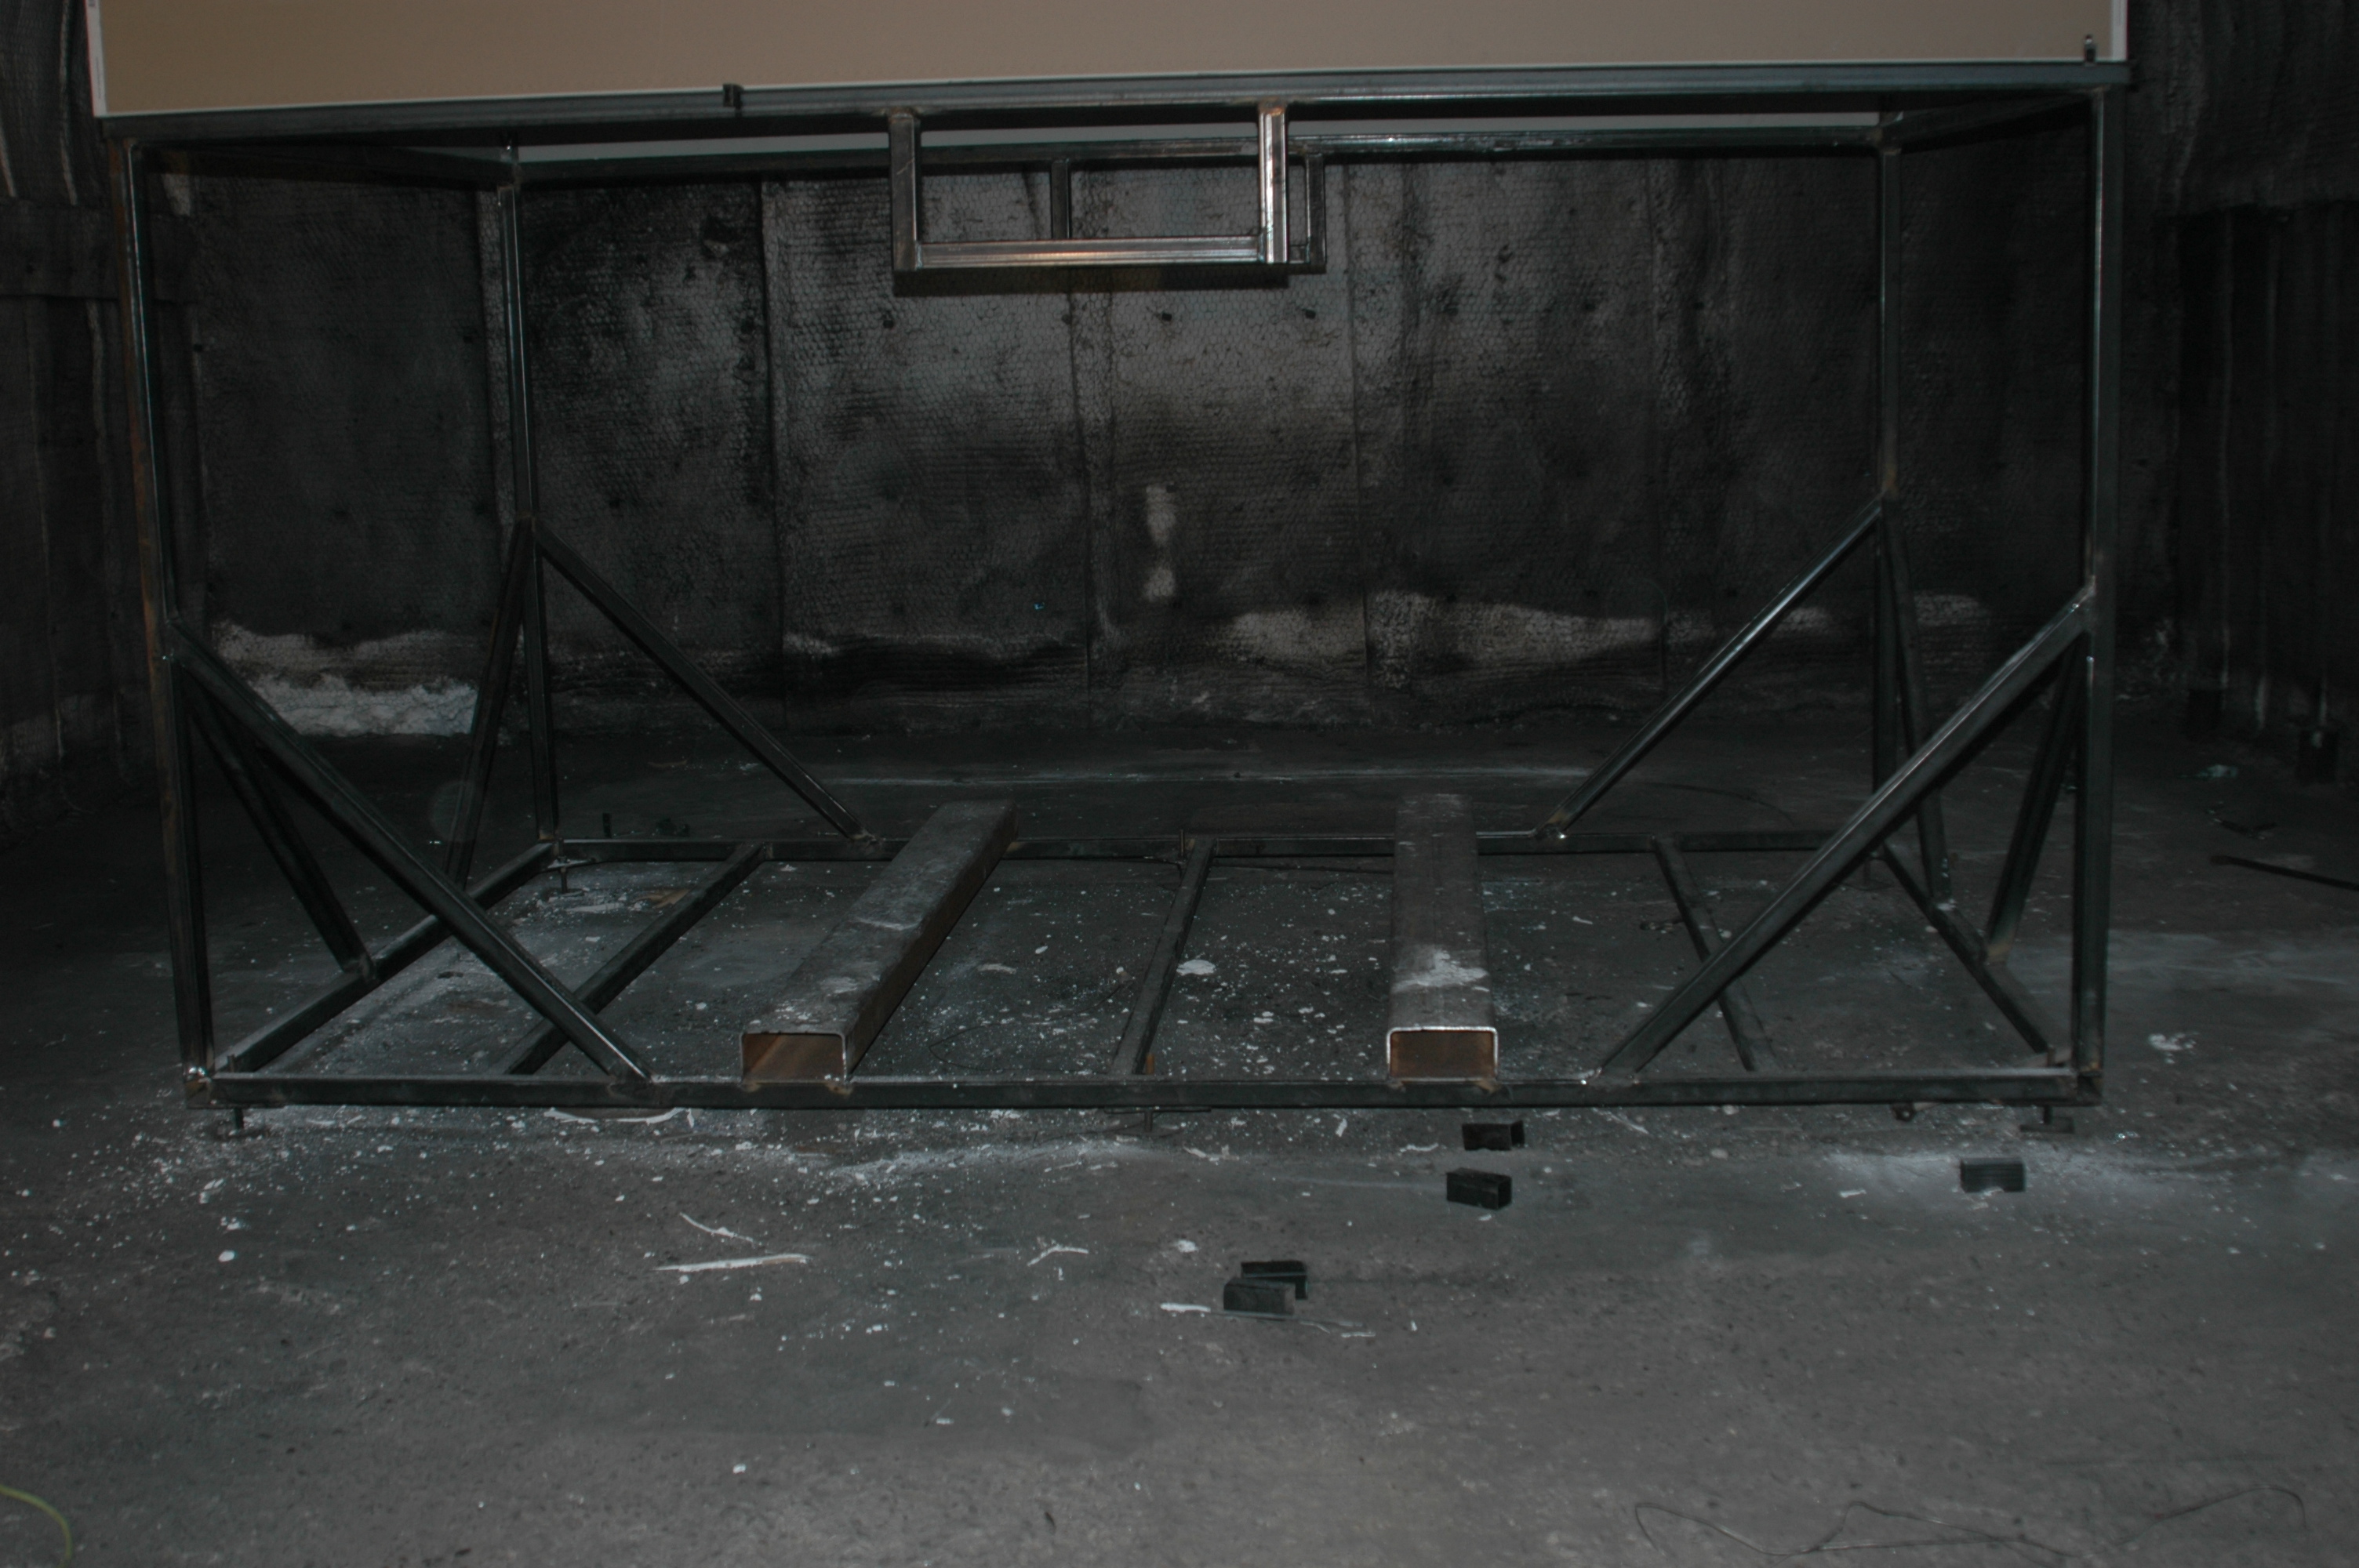 View Larger Image Test Cell Base |  View Larger Image Tray, Lowest Location | 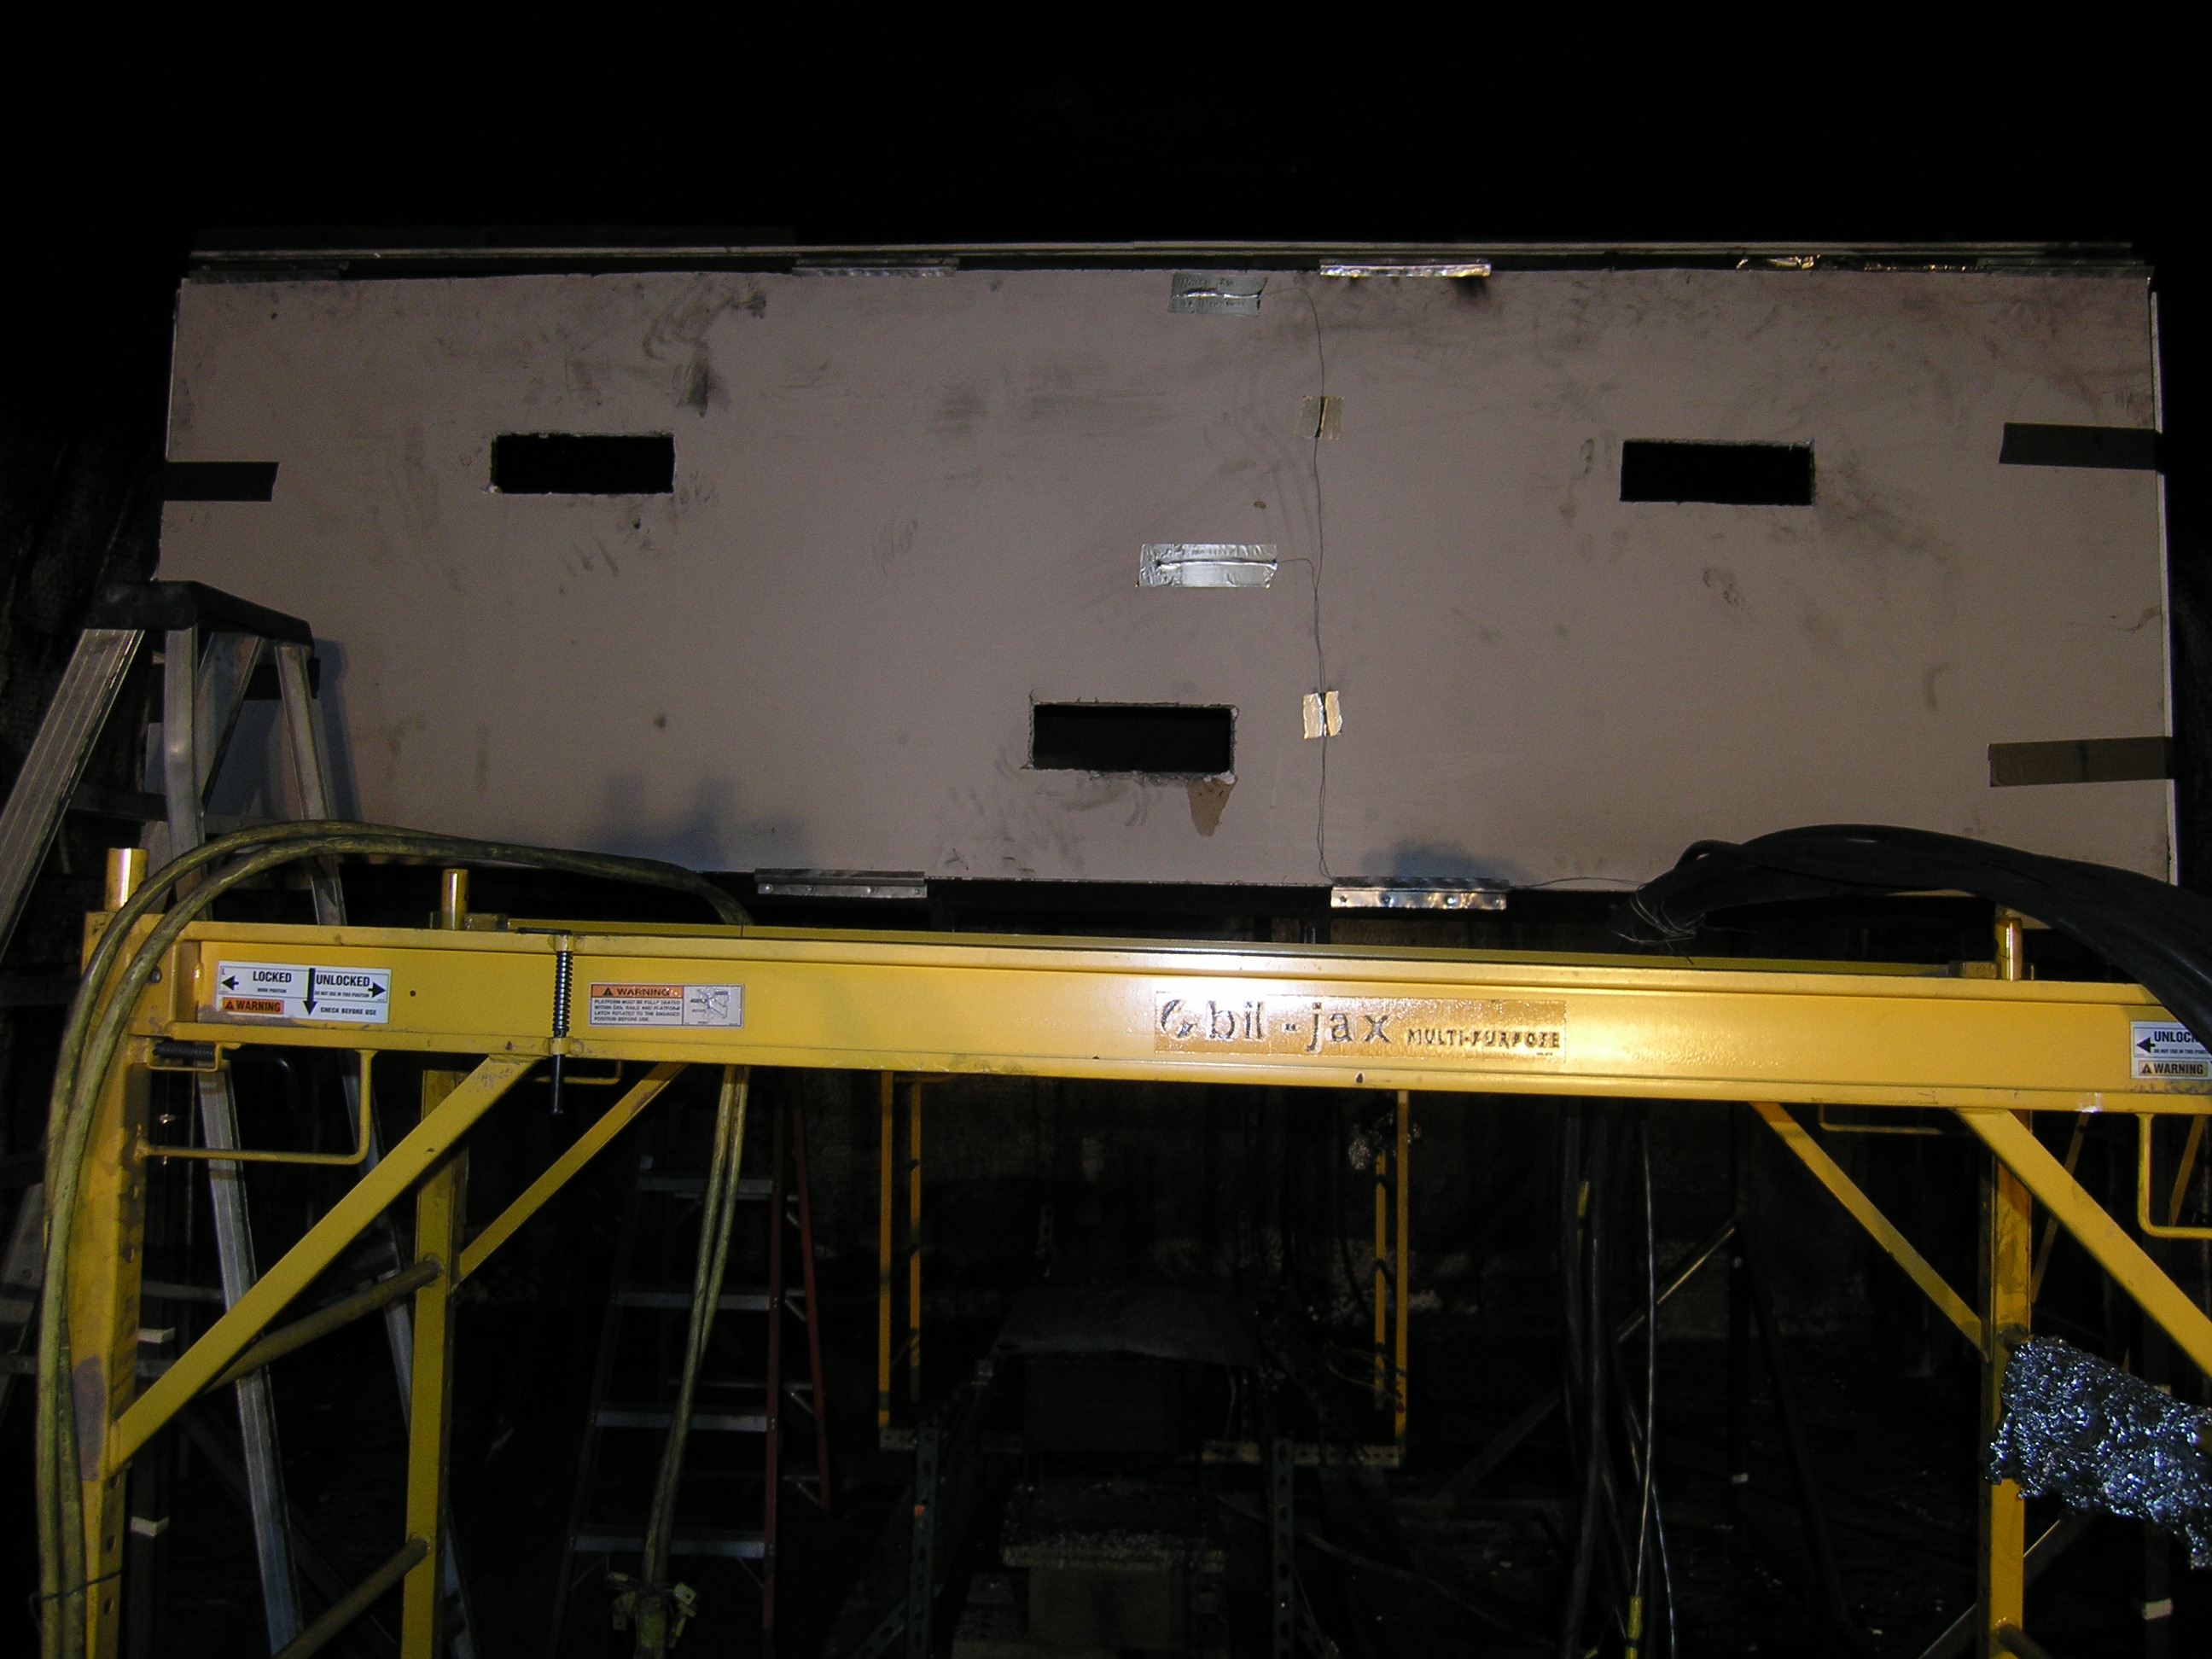 View Larger Image Tray, Openings for Higher Locations |
 View Larger Image Typical Power and Instrument Hookups (view 1) | 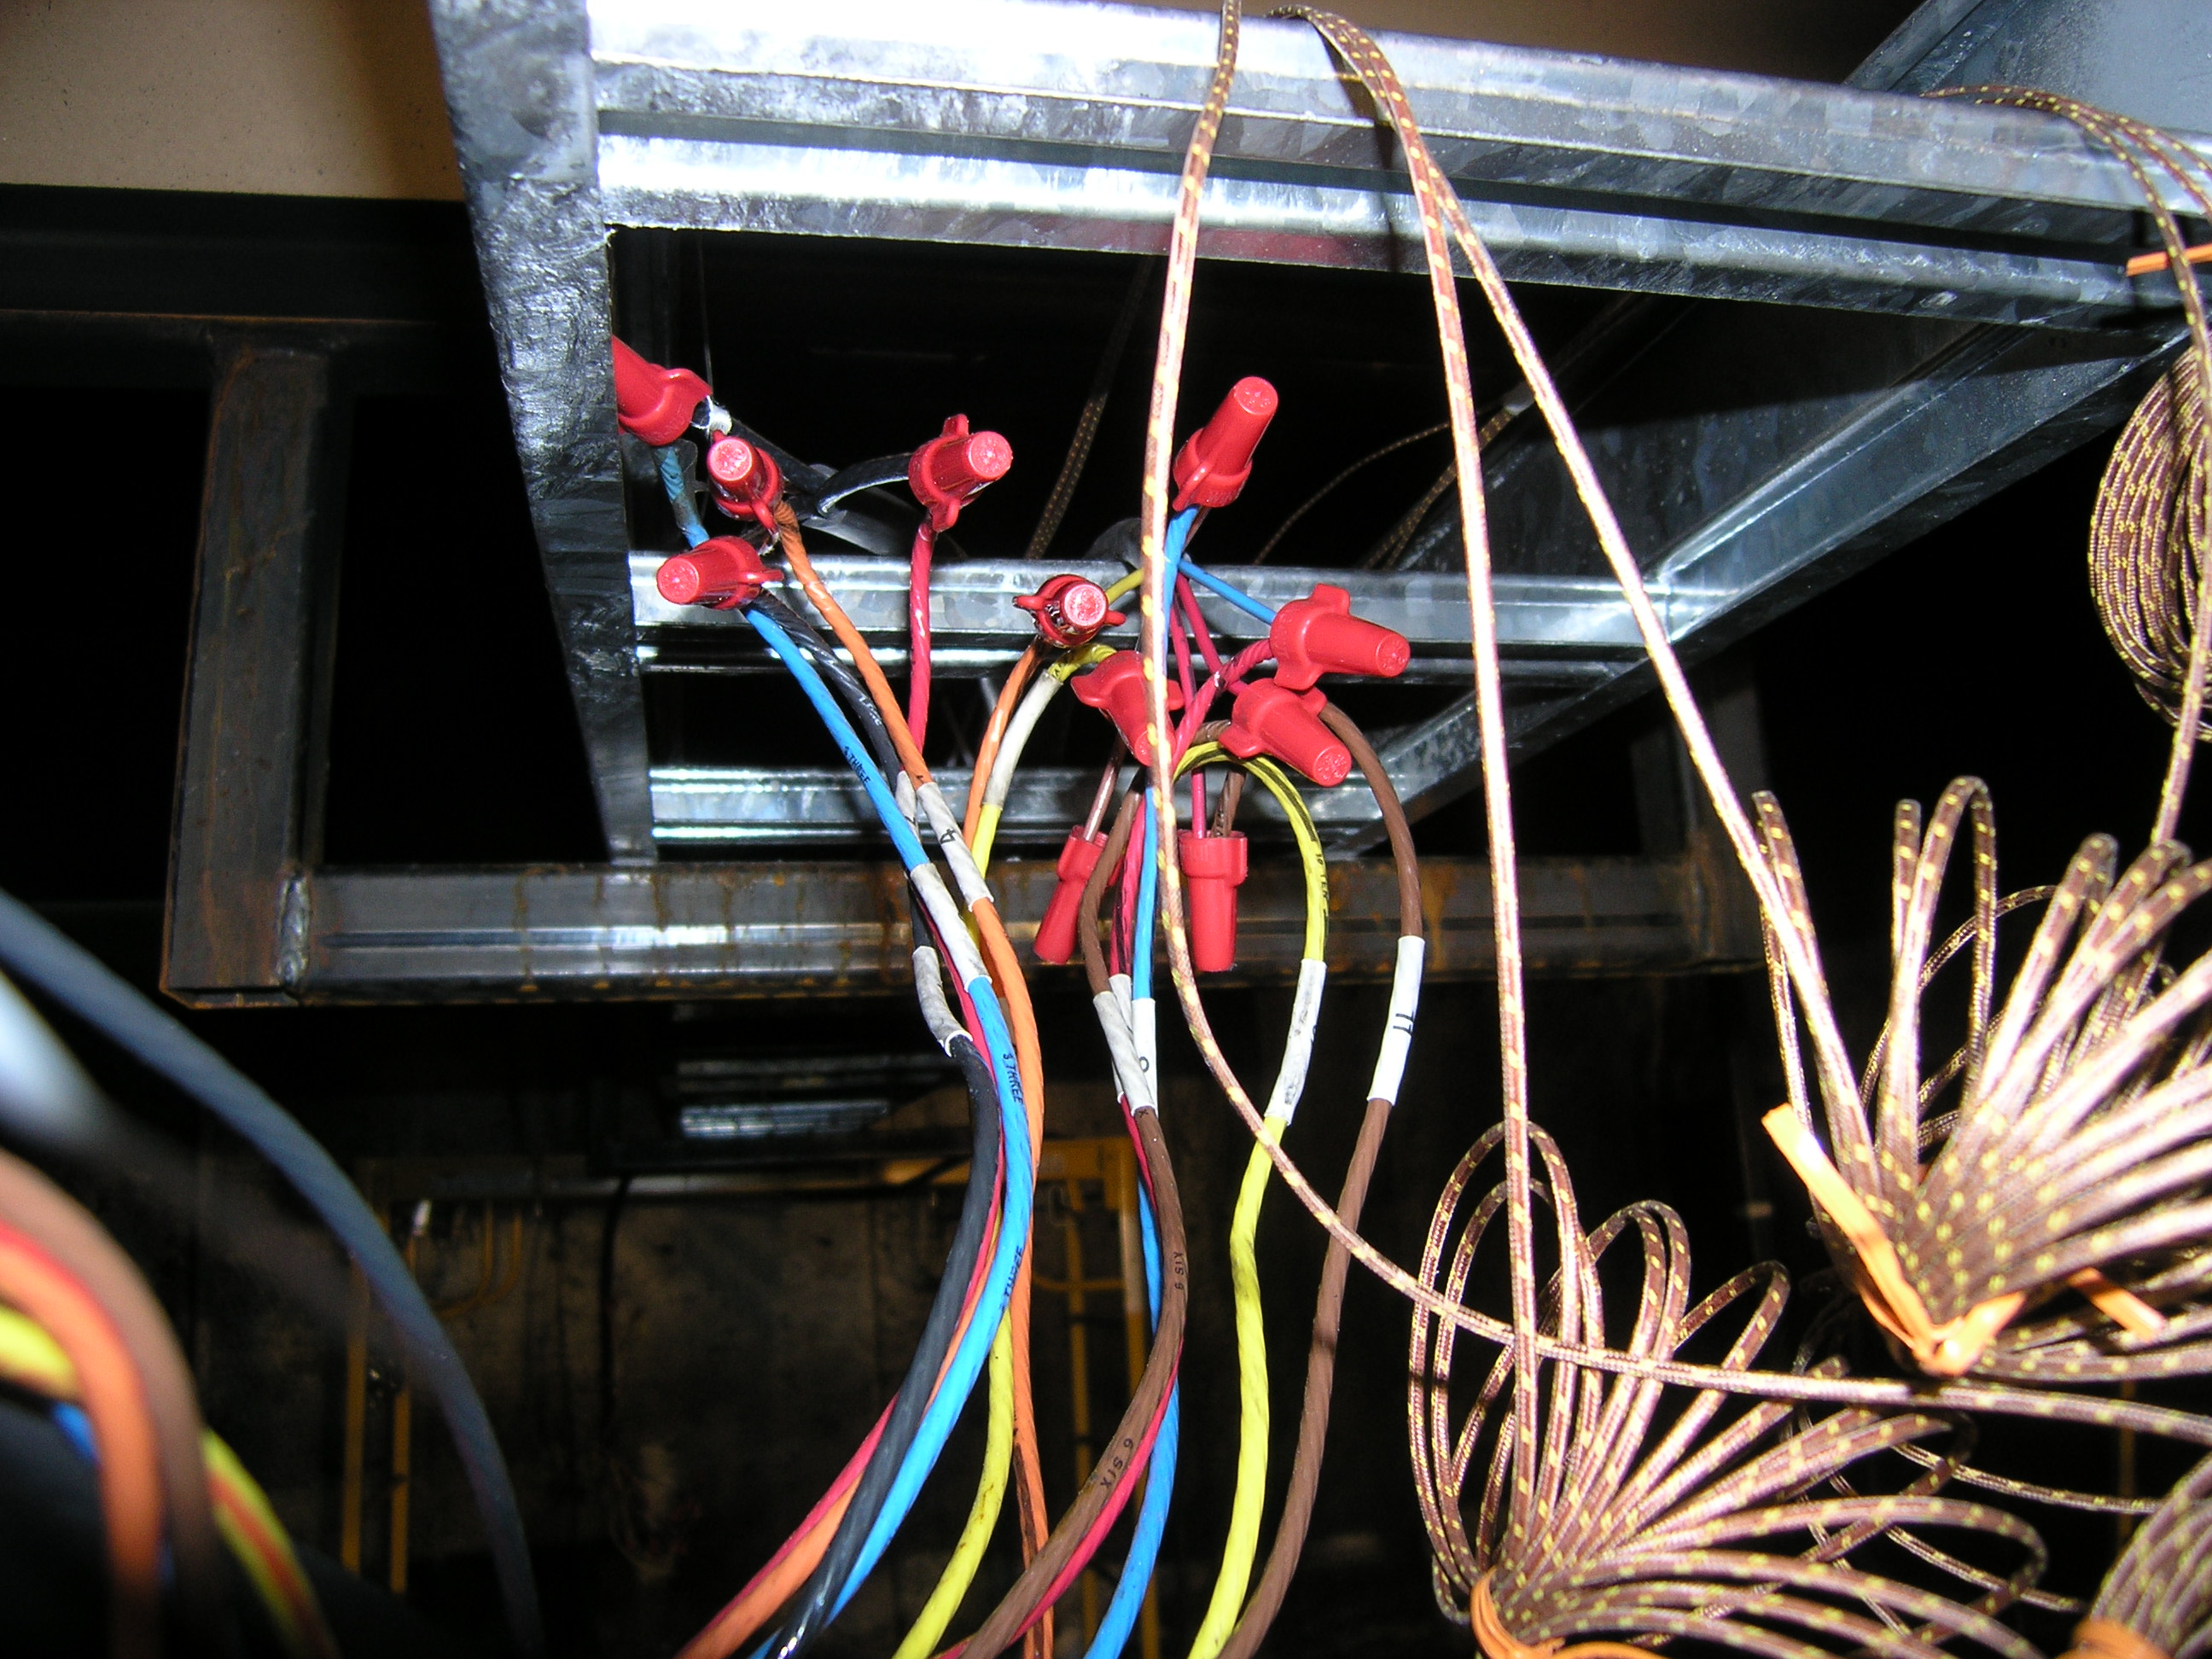 View Larger Image Typical Power and Instrument Hookups (view 2) | 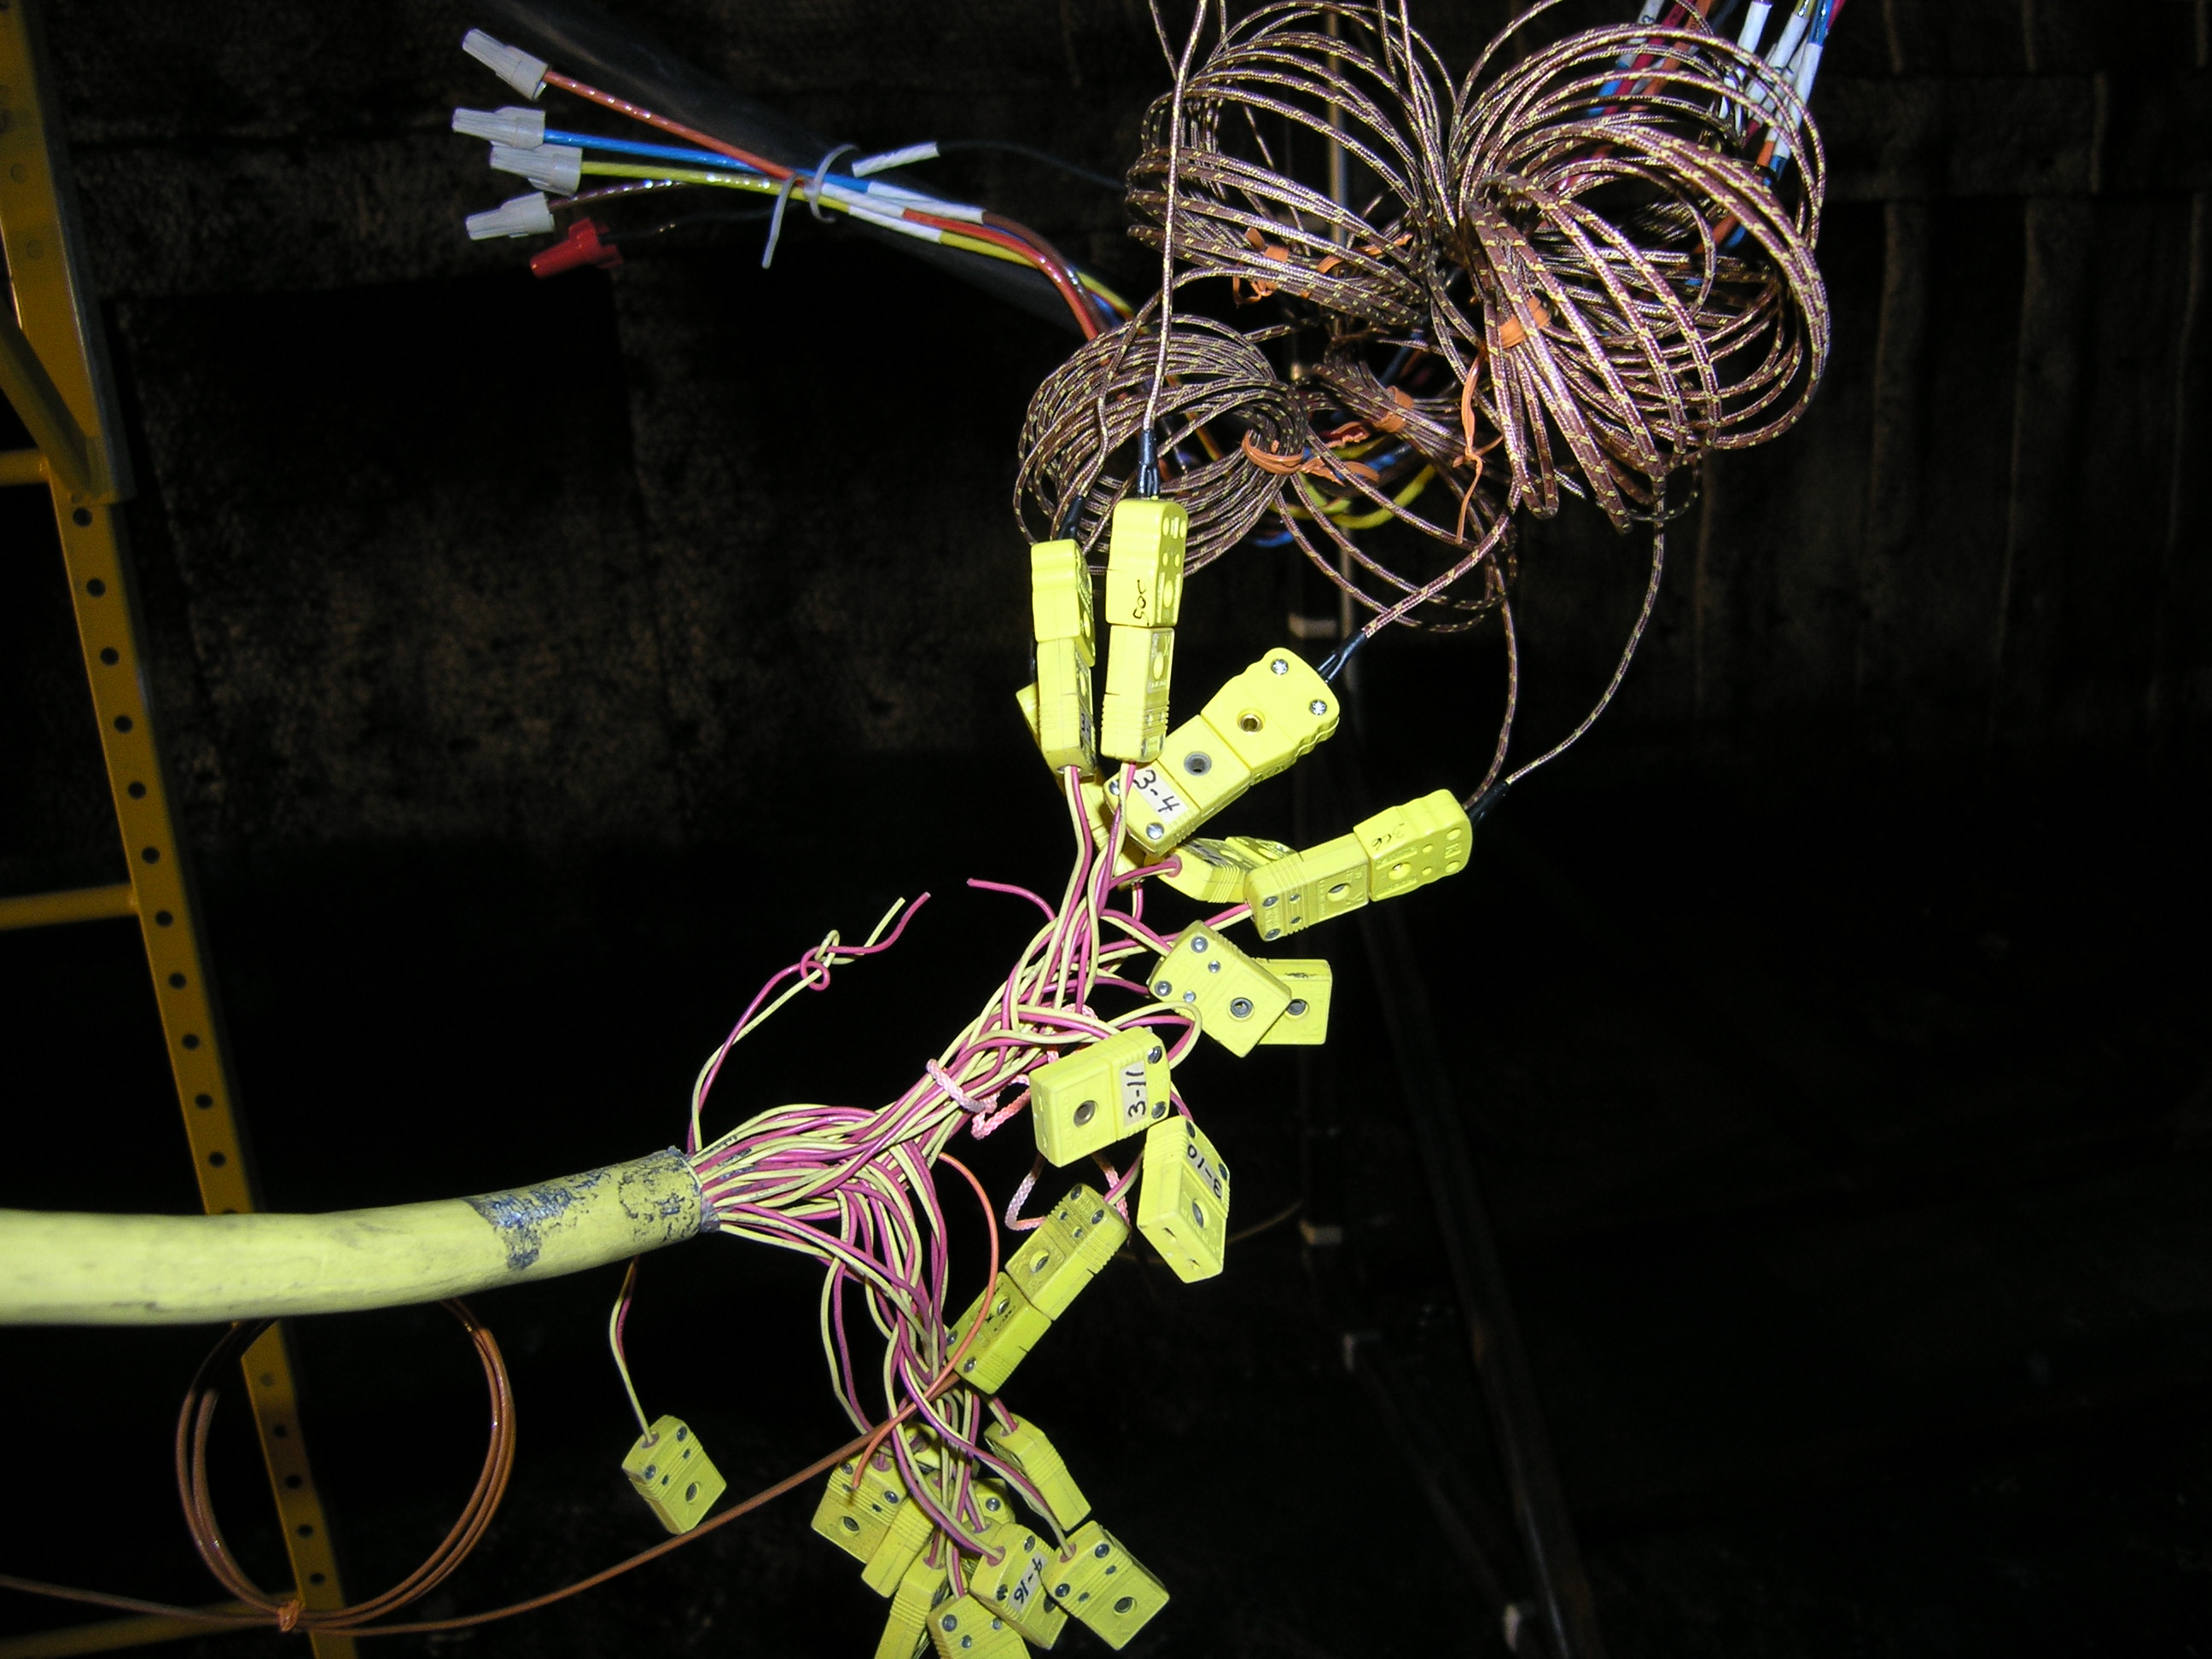 View Larger Image Typical Thermocouple Hookups | 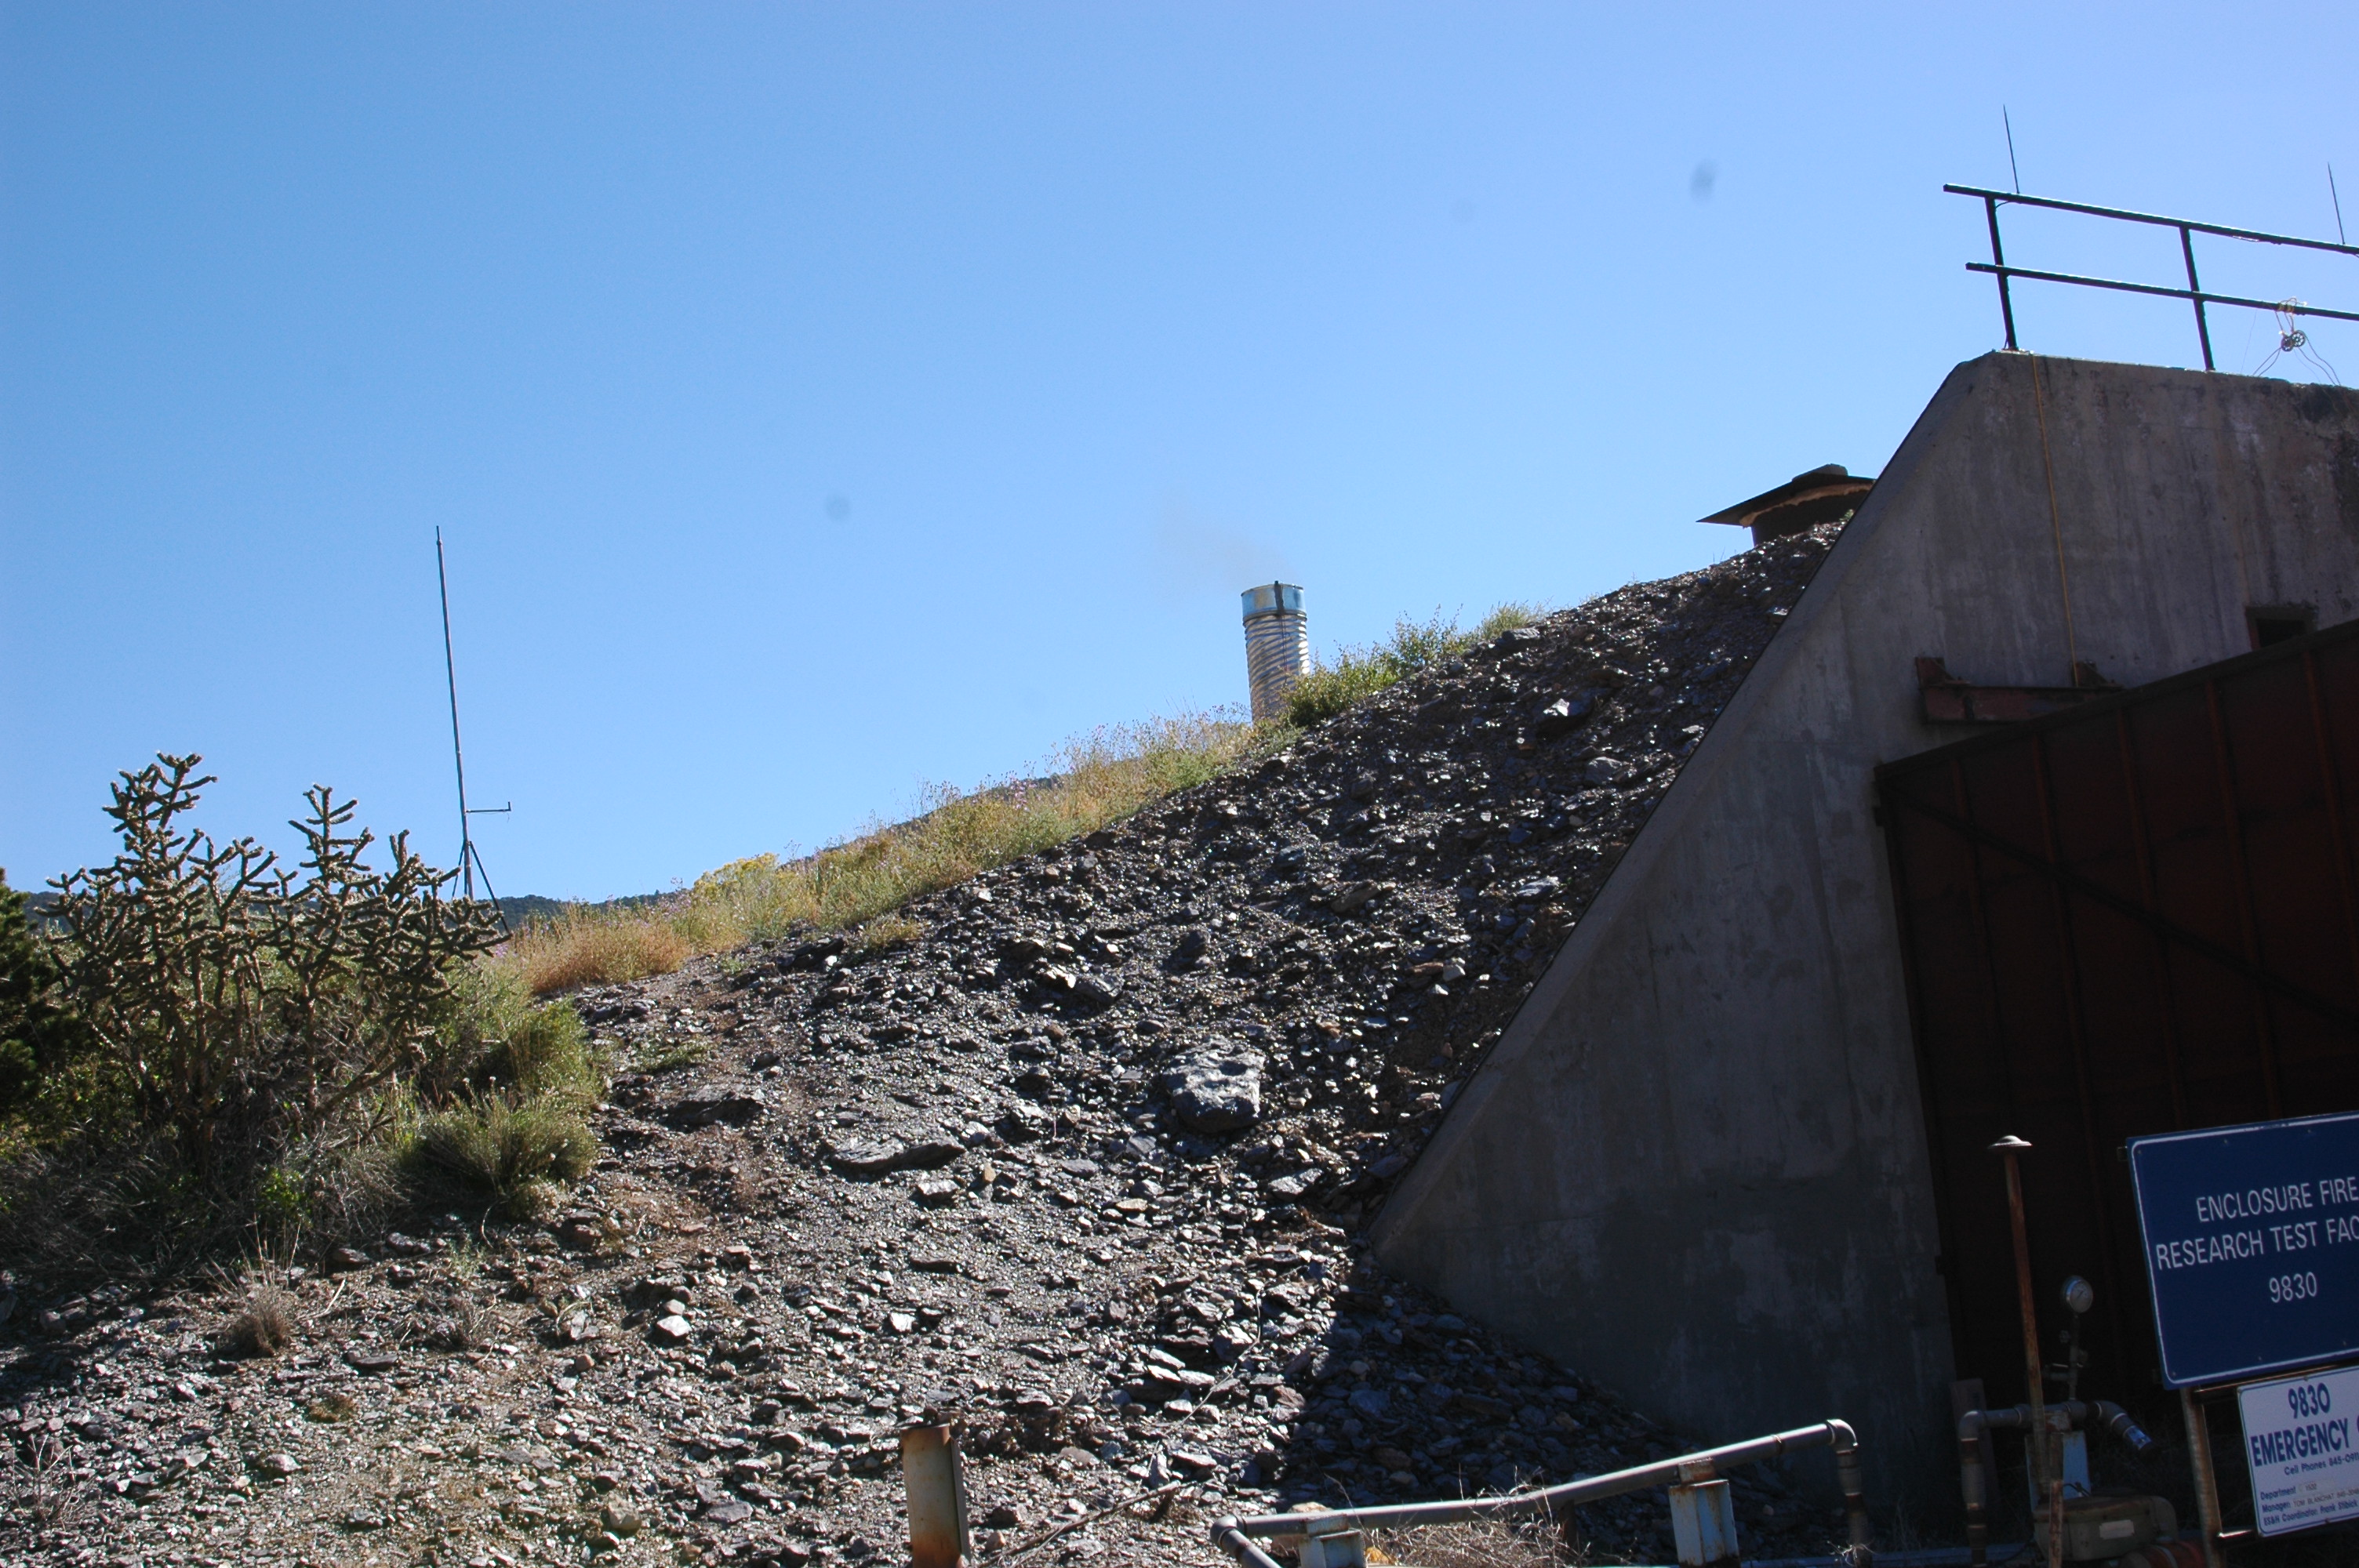 View Larger Image Vent Stack on Top of Bunker (view 1) |
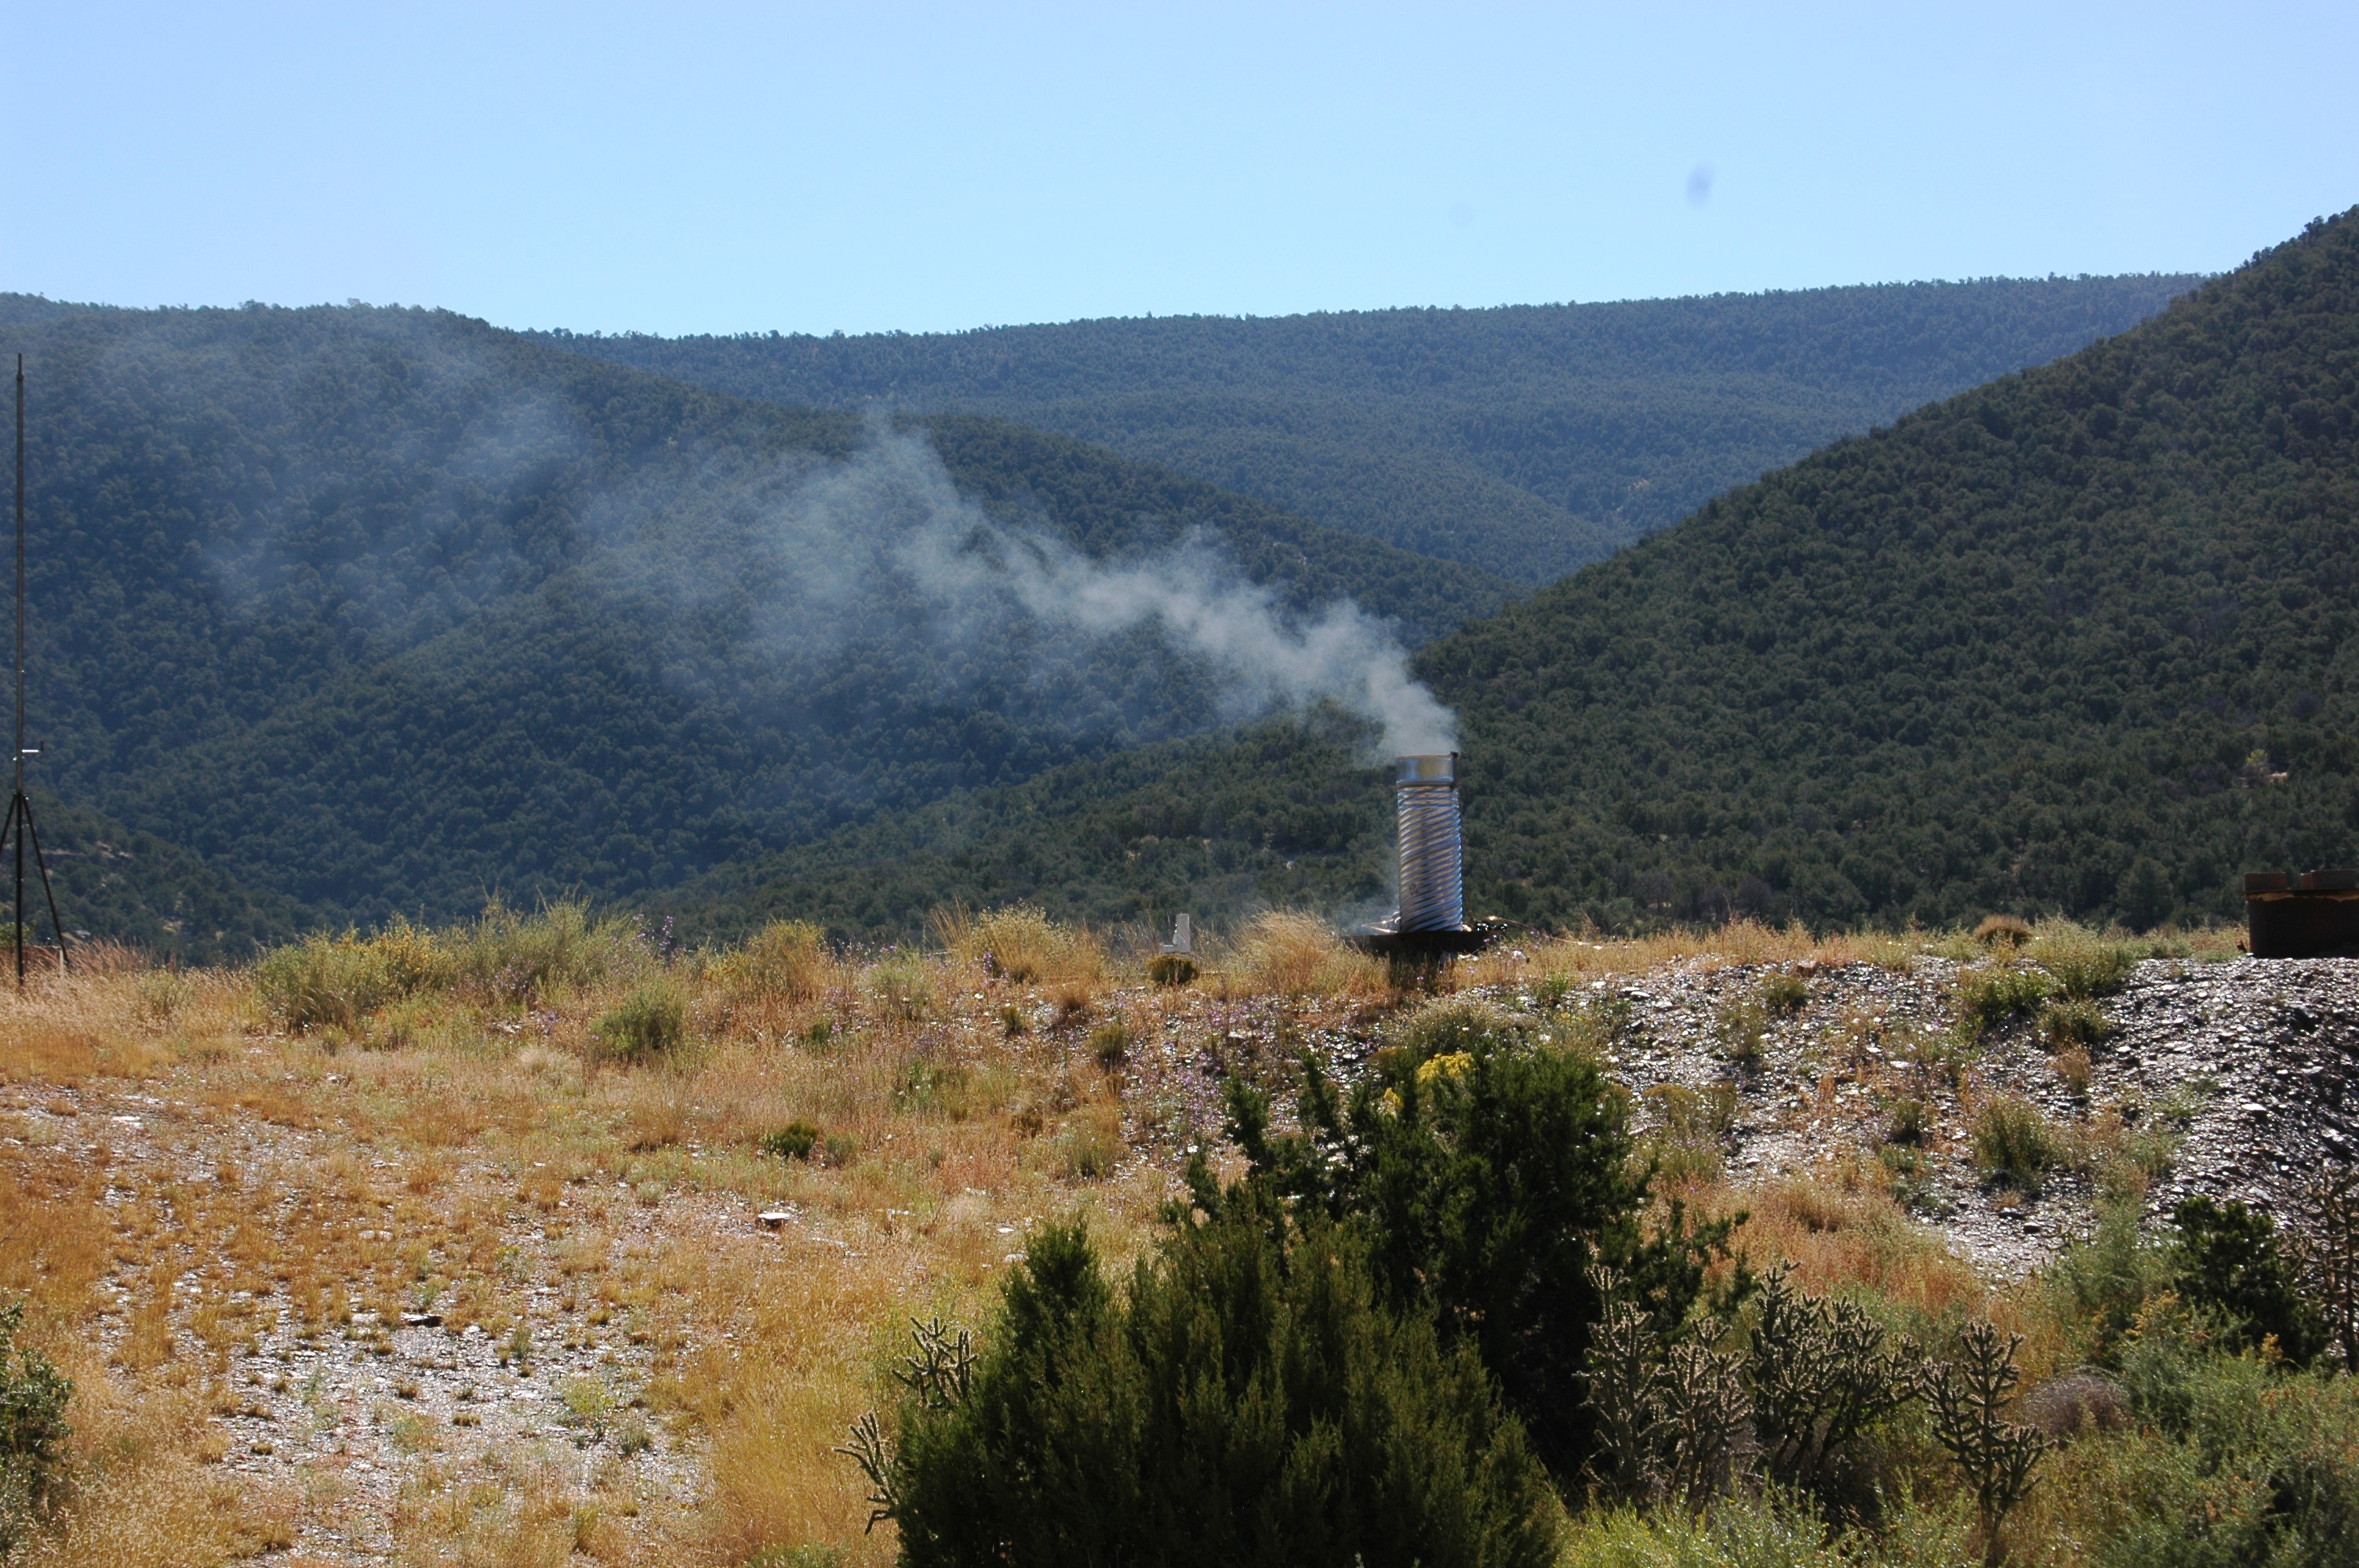 View Larger Image Vent Stack on Top of Bunker (view 2) | 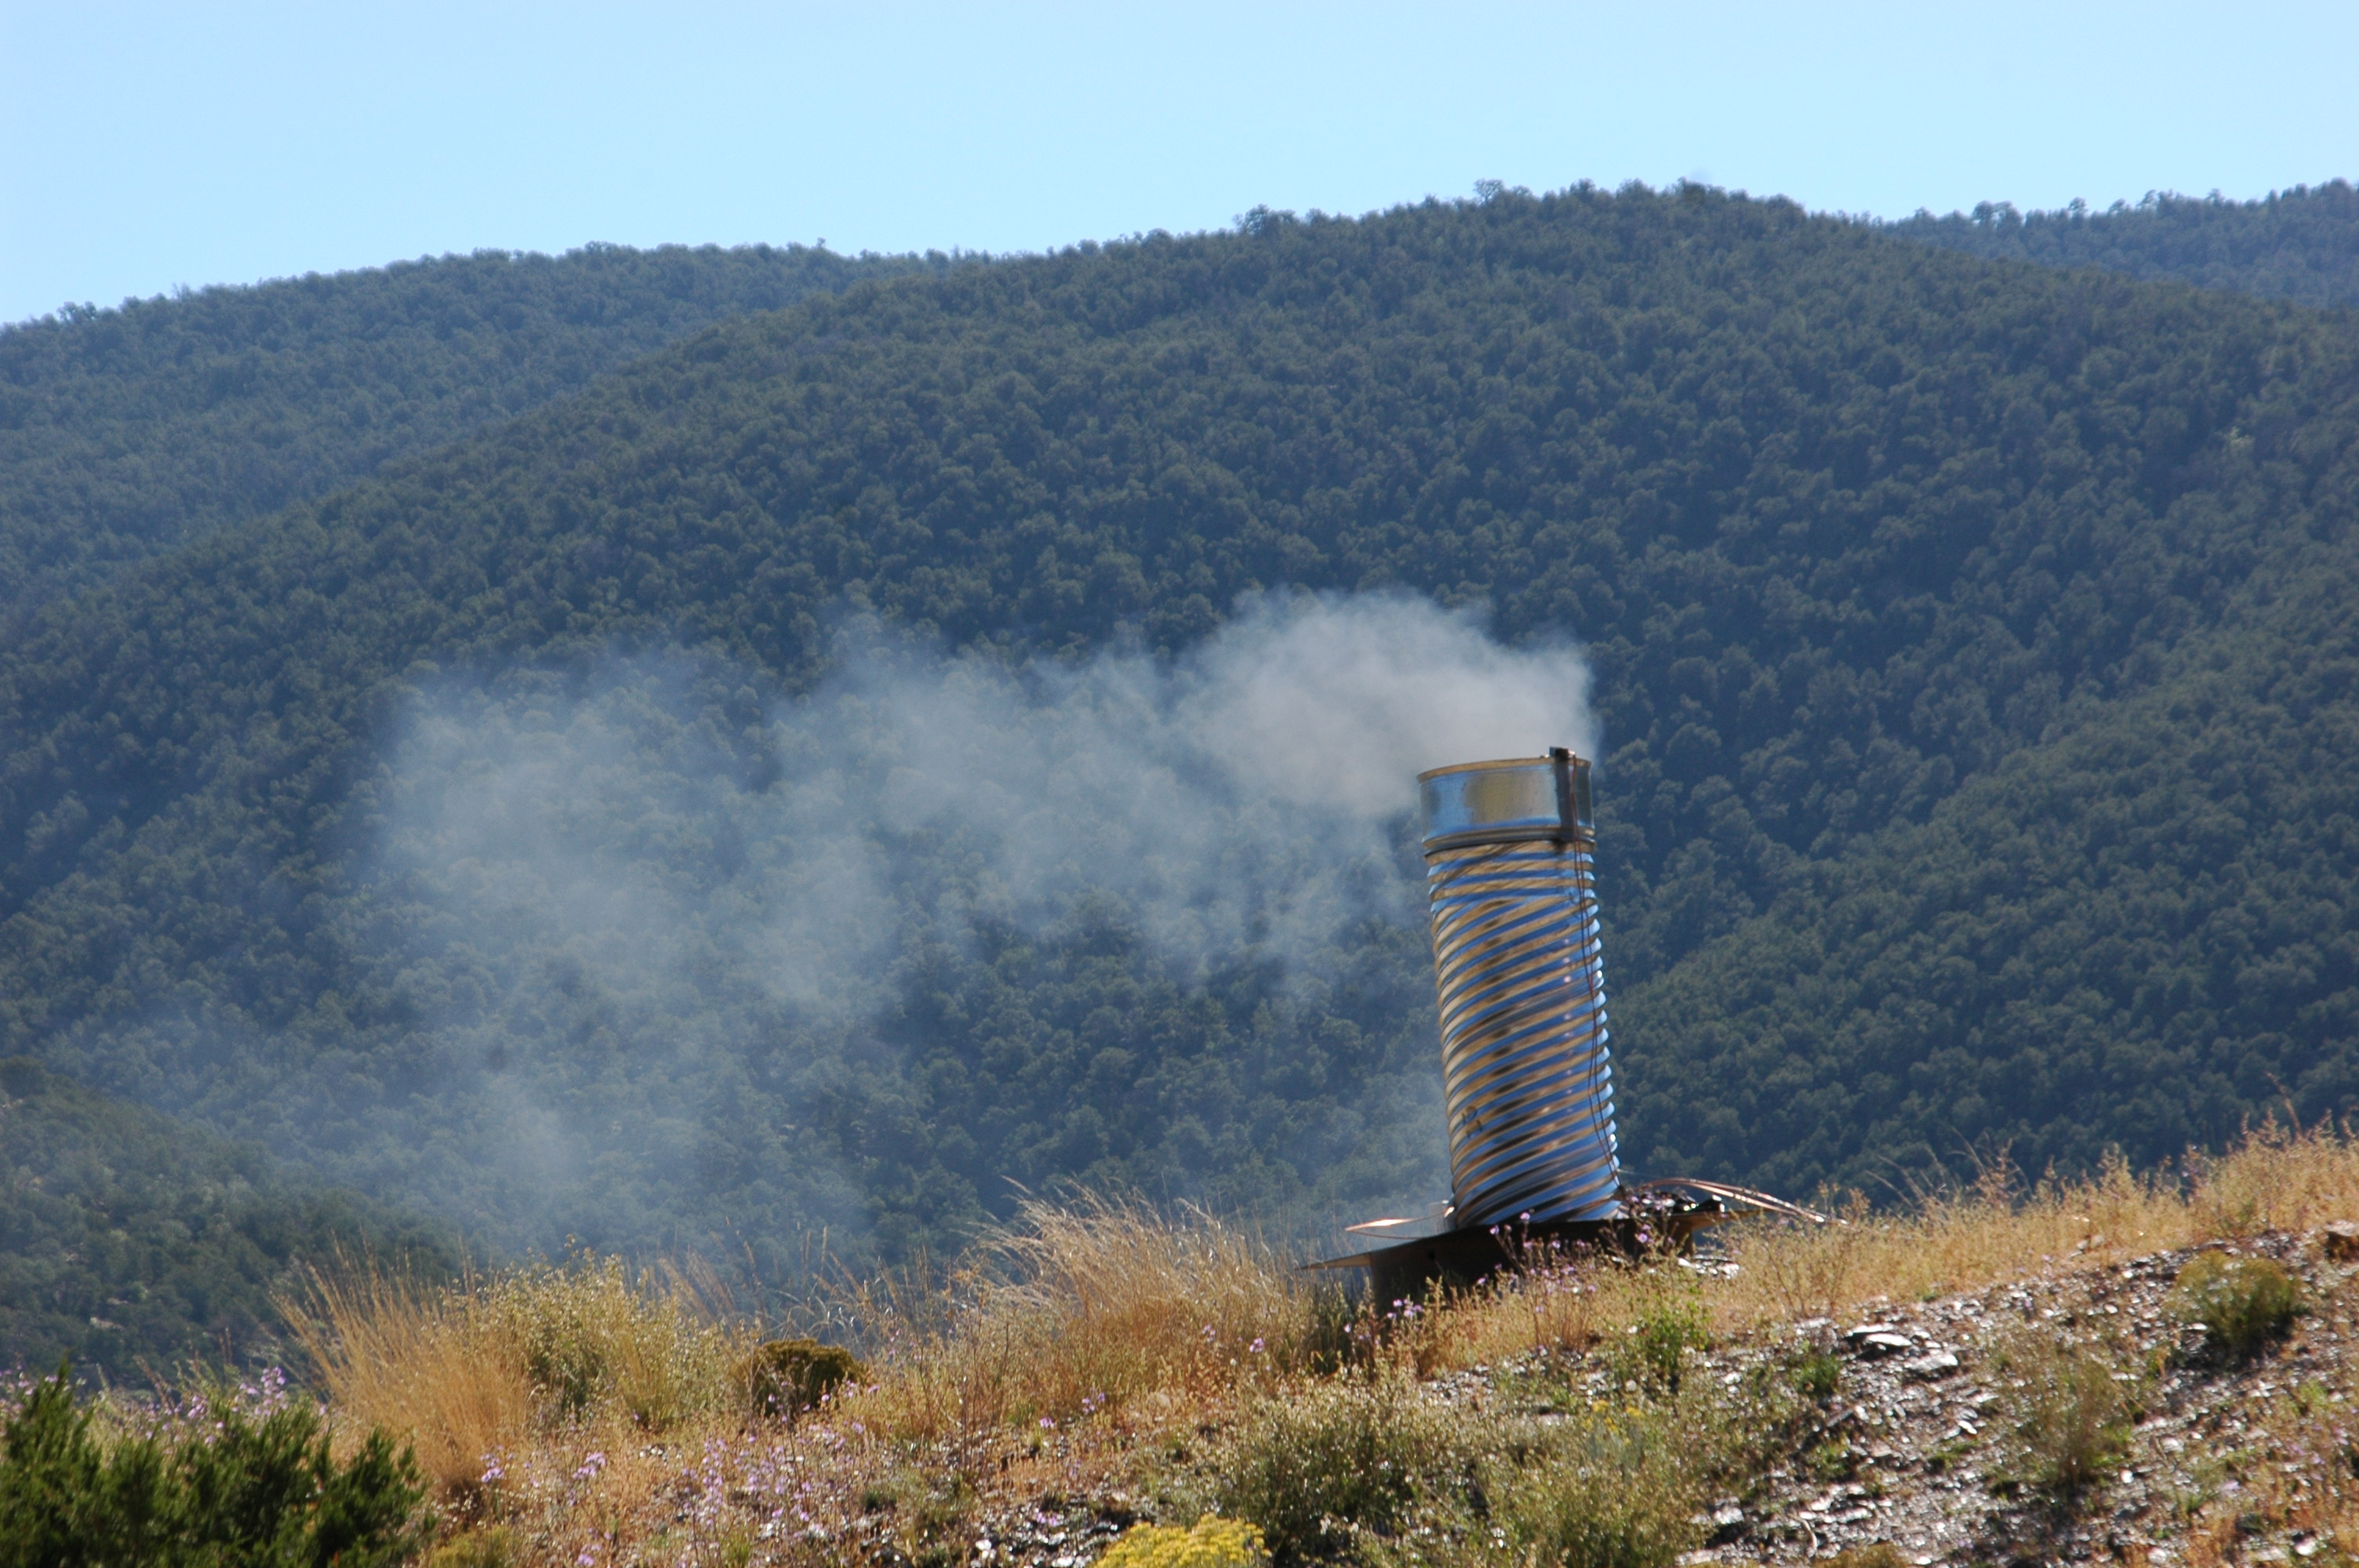 View Larger Image Vent Stack on Top of Bunker (view 3) | 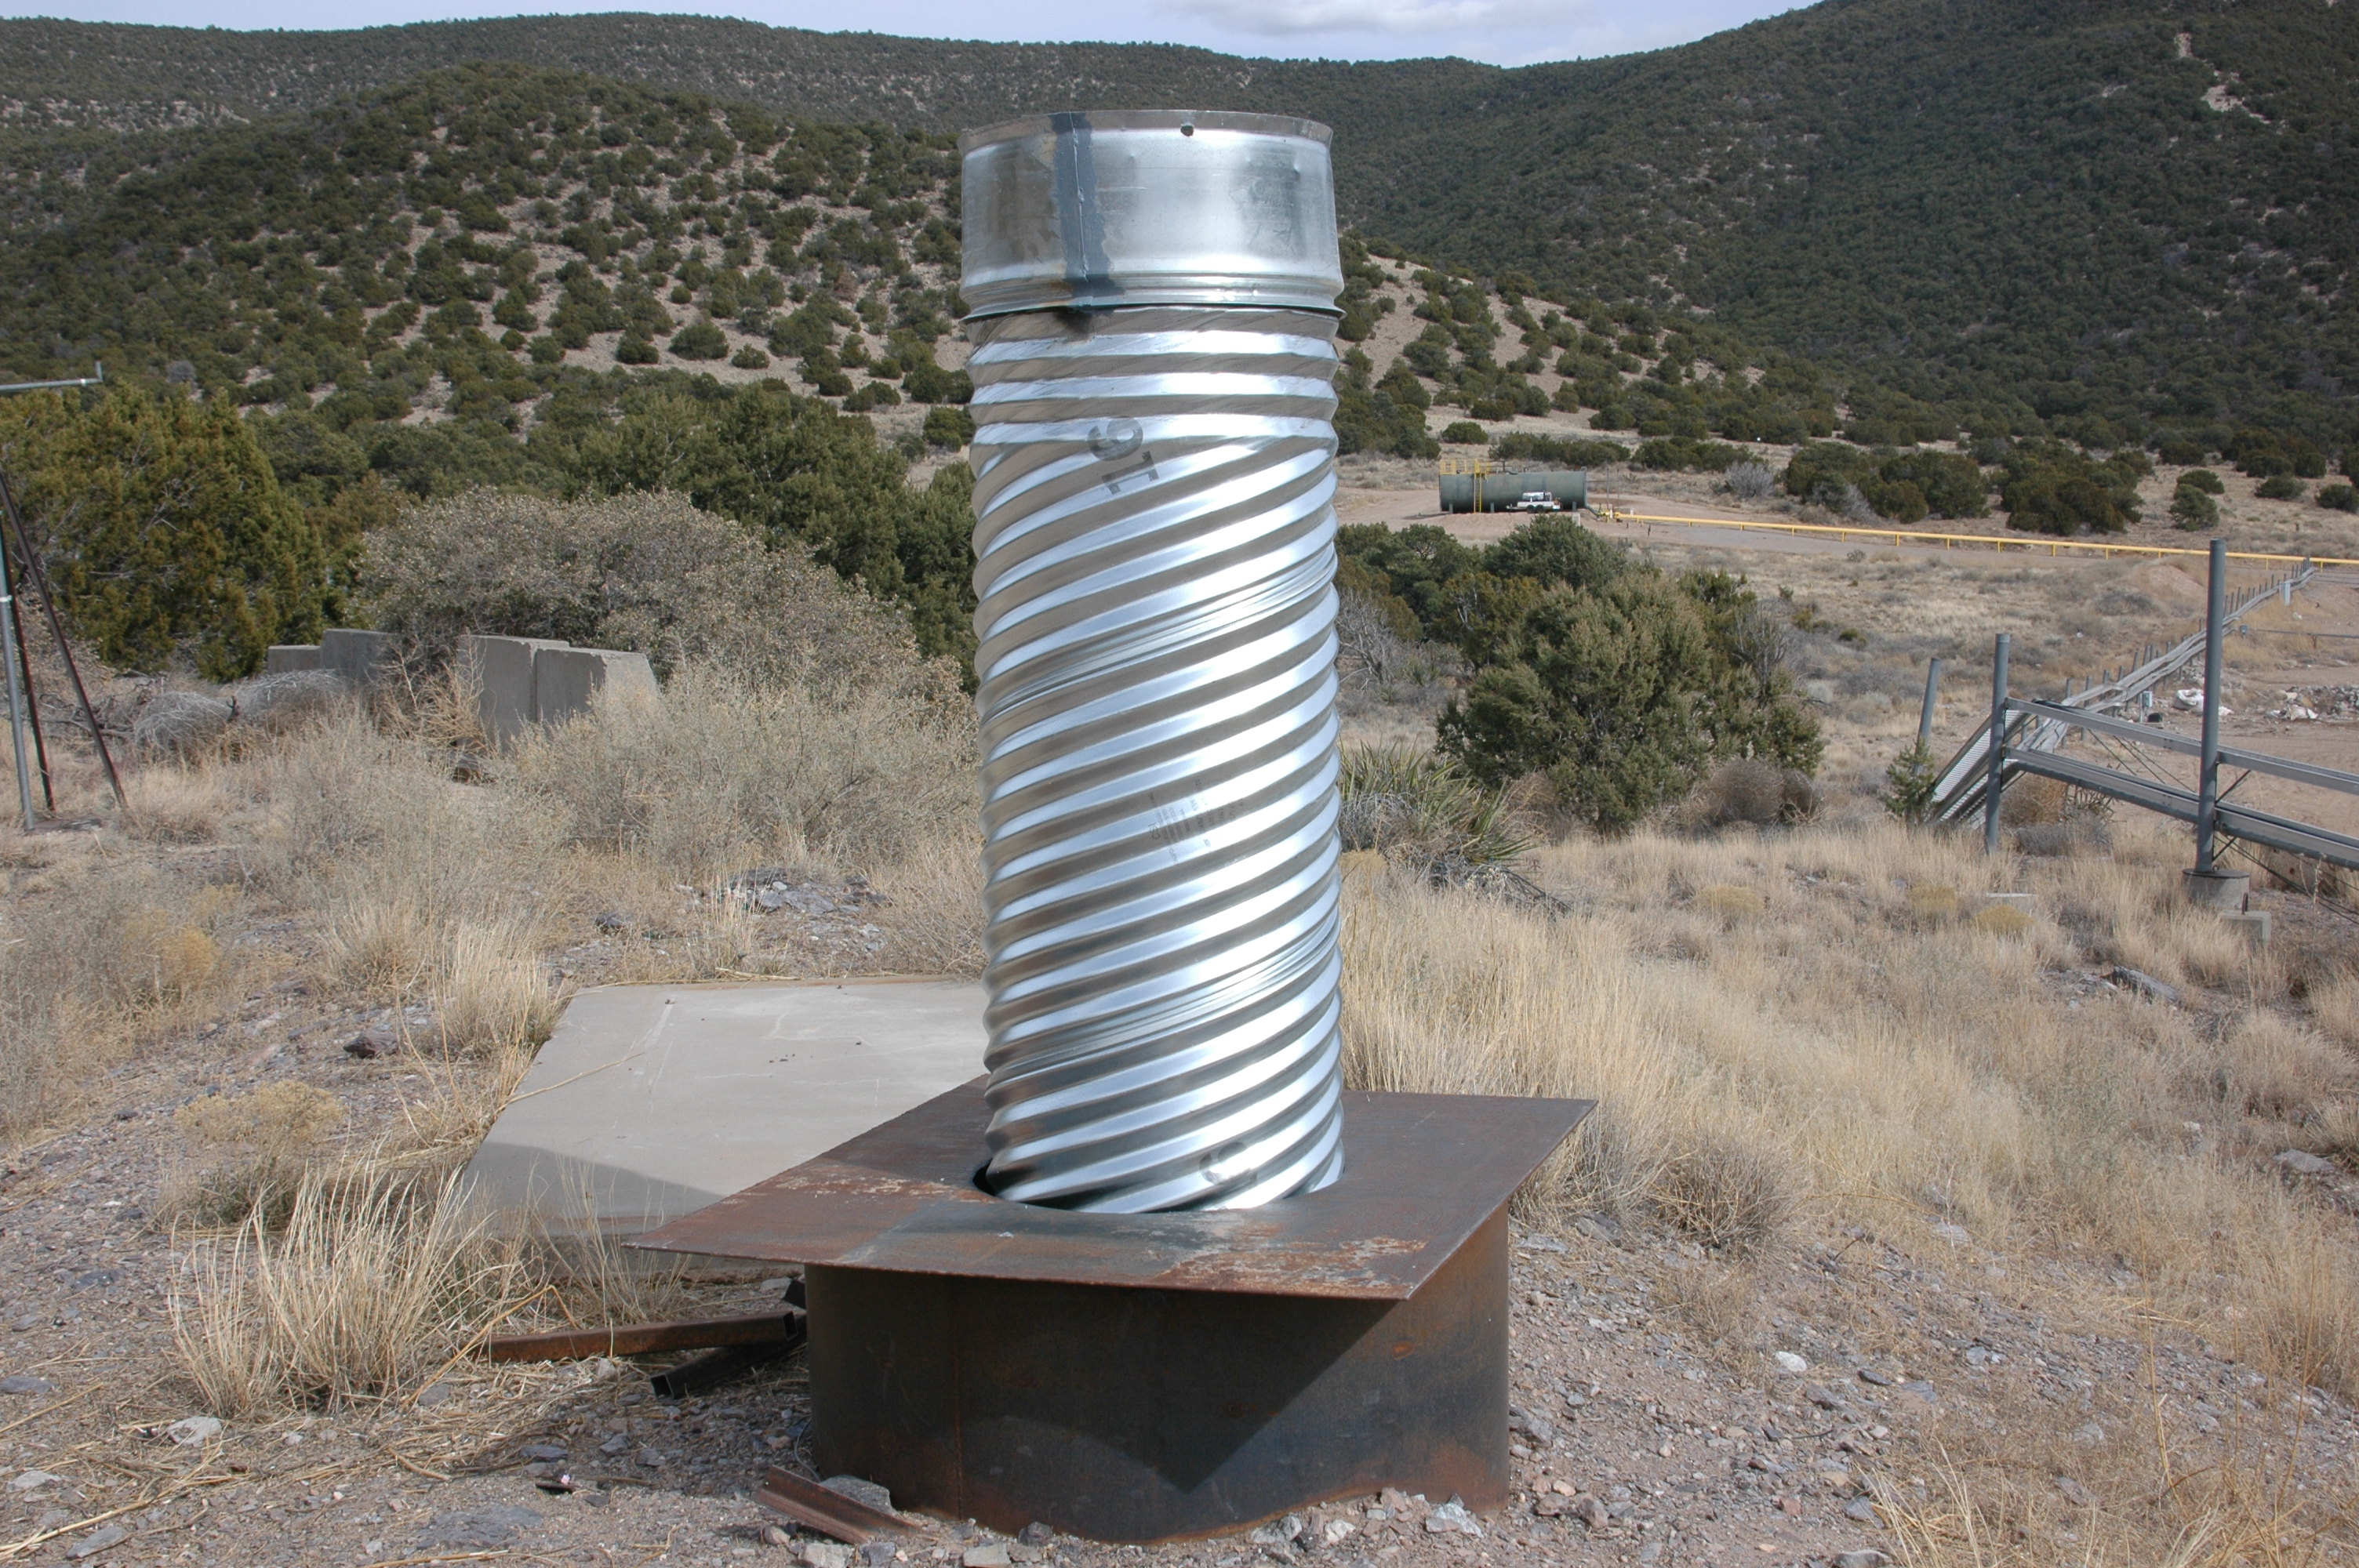 View Larger Image Vent Stack on Top of Bunker (view 4) | 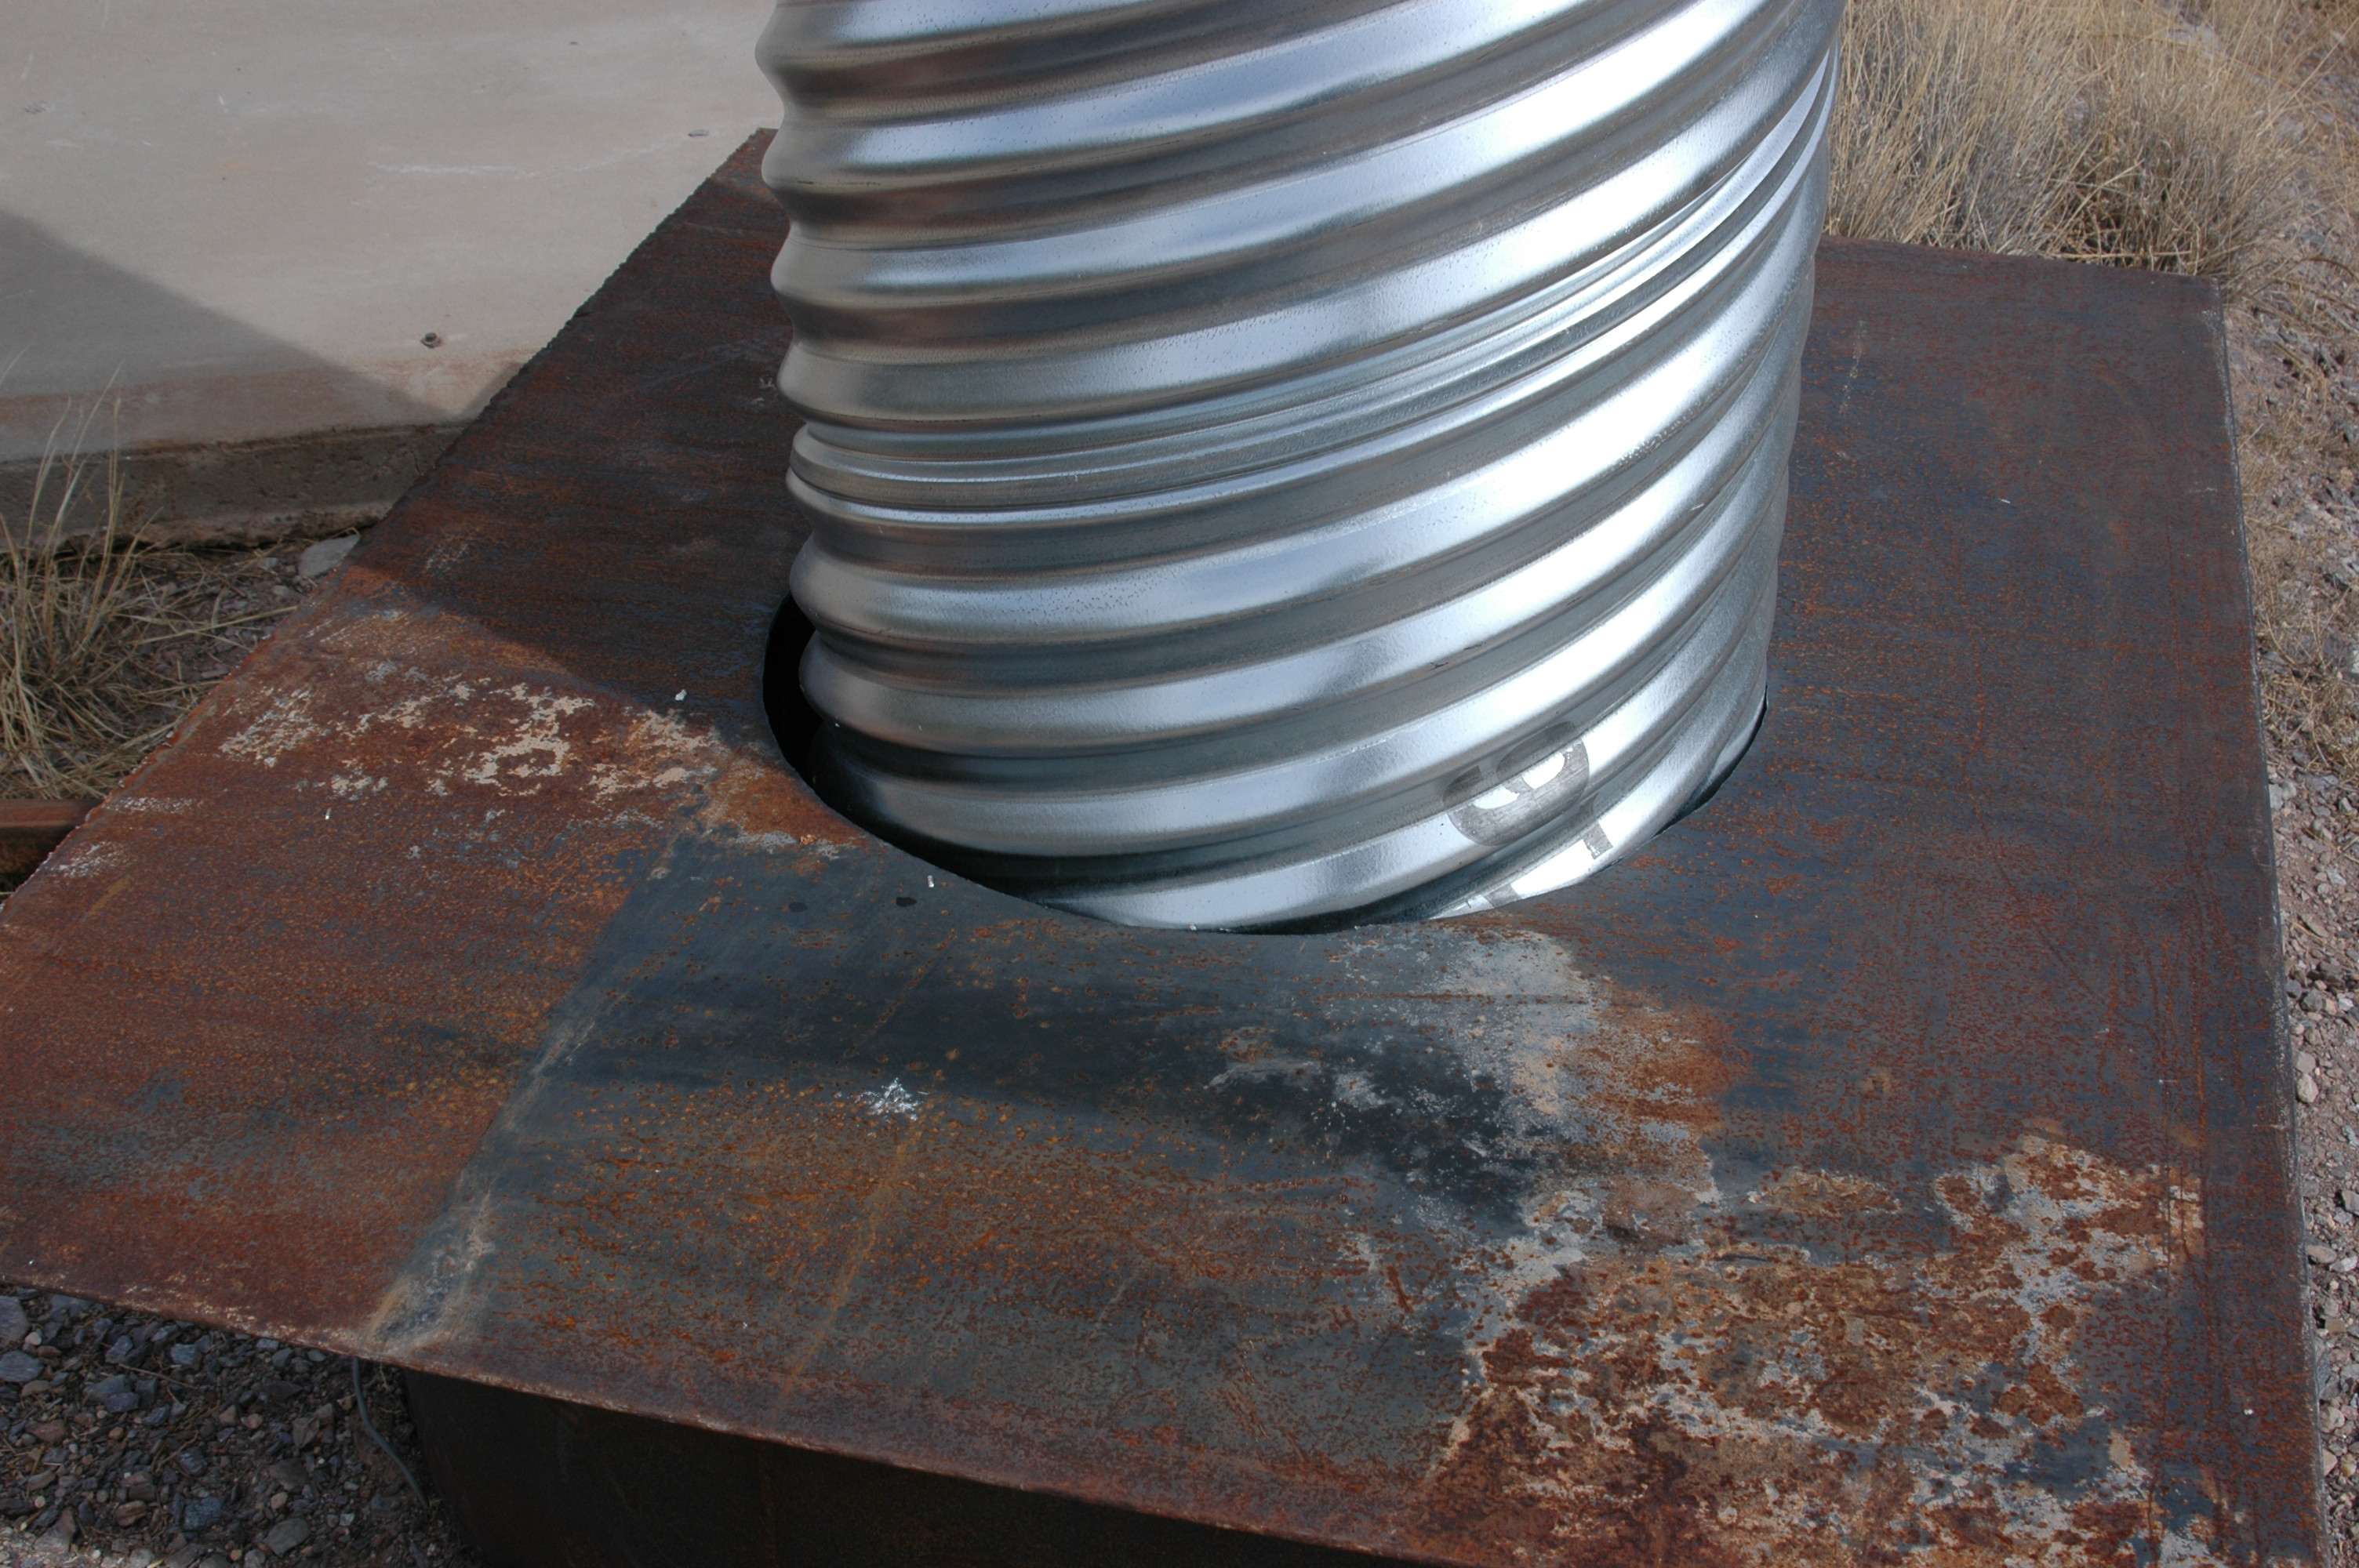 View Larger Image Vent Stack on Top of Bunker (view 5) |


Page Last Reviewed/Updated Wednesday, March 24, 2021
Page Last Reviewed/Updated Wednesday, March 24, 2021